In this brief tutorial, quickly kickstart the
codebase of a microservice that can be developed and run in containers using
Jolie, npm, VS Code, and Docker.
In this brief tutorial, let's look at how we can quickly kickstart the codebase of a microservice that can be developed and run in containers. We achieve this by using the Jolie programming language, npm, VS Code, and Docker.
Prerequisites
You will need npm, Docker, and VS Code installed. Make sure that you have enabled support for Dev Containers in VS Code. (Jolie comes preloaded in the Docker images that we are going to use, so no need to install it.)
Ready? Go!
1. Create Your Project With npm
Create a new directory for following this tutorial (for example, tutorial) and enter it.
Shell
mkdir tutorial
cd tutorial
Now run the following command within that directory from a terminal.
Shell
npm init jolie
You will be asked the usual questions that come with npm init, like the license that you want to use.
You will then be presented with Jolie-specific questions. Go ahead and just press enter: the defaults are exactly what we need for this tutorial.
In particular, say yes to getting a Dockerfile and a devcontainer configuration. We are going to need those.
Next, you choose what kind of Jolie project you want. Select "Empty Jolie project."
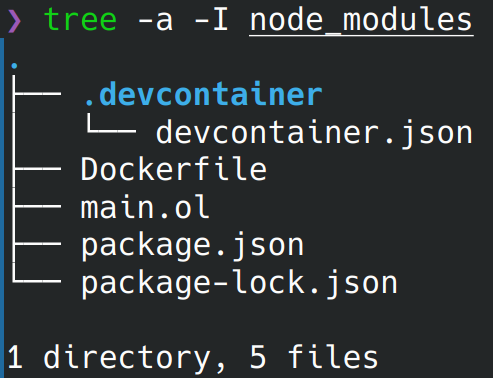
You should now have the following directory structure (plus the usual node_modules directory).
2. Write Your Service in VSCode
Open the tutorial's directory with VSCode.
Shell
code .
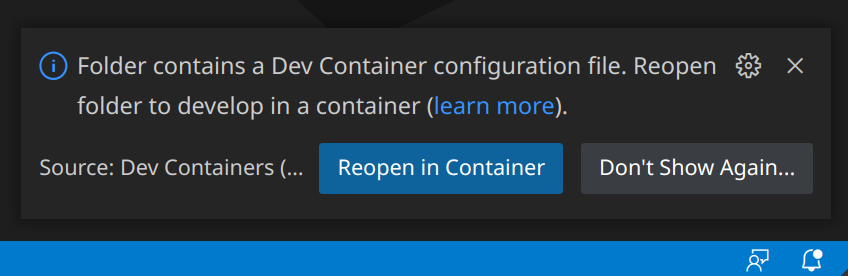
The editor will automatically detect the presence of the .devcontainer folder and ask us if we want to reopen the directory in a container. Go ahead and do that by clicking the blue button below.
Creating the container might take a while the first time. When VS Code is done with preparations, you should see the green confirmation shown below in the status bar at the bottom of the window.
Now we can start coding! In this tutorial, we create a simple service that accepts HTTP requests for generating greetings, which carry the name to greet in the query string. For example, invoking http://localhost:8080/greet?name=Jane should return a JSON value like { greeting: "Hi Jane" }.
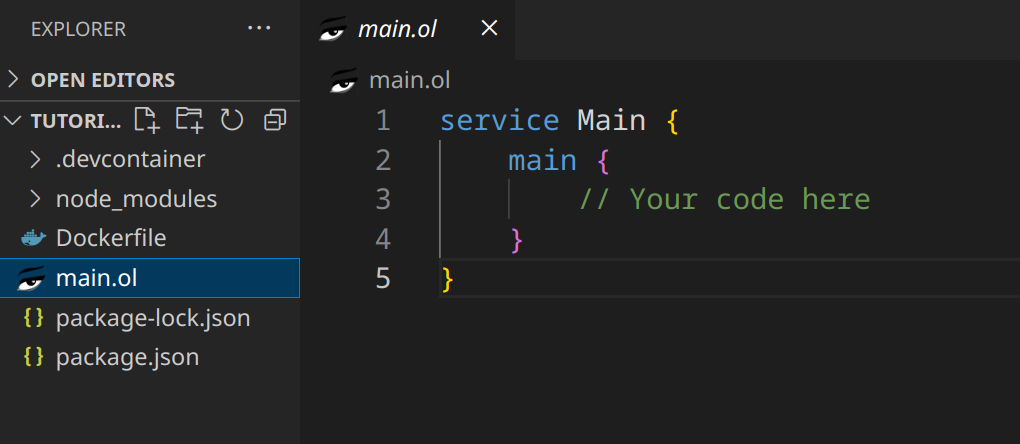
Open the main.ol file, which contains an empty service called Main.
We start by writing the API of our service. It contains a single operation called greet, which receives messages of type GreetRequest and replies with messages of type GreetResponse. For more details, you can check this introduction to Jolie or the Jolie documentation.
type GreetRequest { name: string }
type GreetResponse { greeting: string }
interface GreeterInterface {
RequestResponse:
greet( GreetRequest )( GreetResponse )
}
service Main {
main {
// Your code here
}
}
We can now implement our API in the service Main, obtaining the following code.
type GreetRequest { name: string }
type GreetResponse { greeting: string }
interface GreeterInterface {
RequestResponse:
greet( GreetRequest )( GreetResponse )
}
service Main {
execution: concurrent
inputPort GreeterInput {
location: "socket://localhost:8080"
protocol: http { format = "json" }
interfaces: GreeterInterface
}
main {
greet( request )( { greeting = "Hi " + request.name } )
}
}
The property execution: concurrent tells Jolie that this service should handle clients concurrently.
We then have an inputPort to define an access point for our API, which is available at localhost at TCP port 8080 (location), uses HTTP as transport with JSON as the preferred format (protocol), and exposes the interface we defined previously (interfaces).
In the main block, we define the implementation of the greet operation simply by sending back "Hi" followed by the name in the request.
3. Run It!
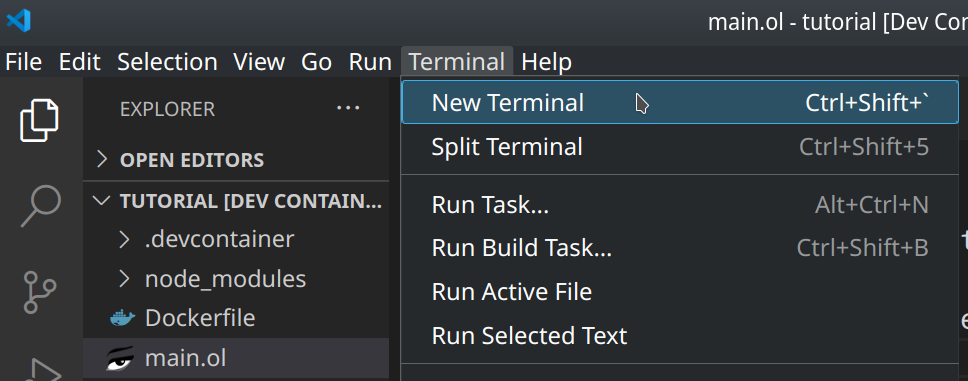
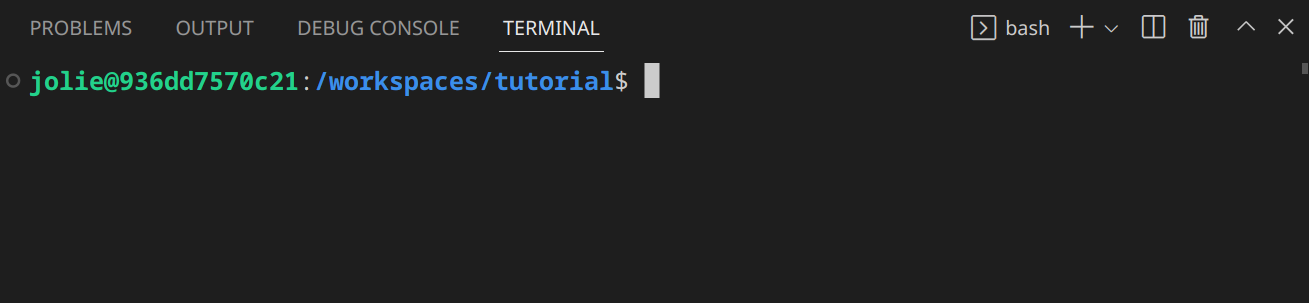
We can run our service within the Dev Container by using the terminal in VS Code. Go to Terminal -> New Terminal to open a terminal, as shown below.
You should now see a terminal panel like the following.
Run the following command in it.
Shell
jolie main.ol
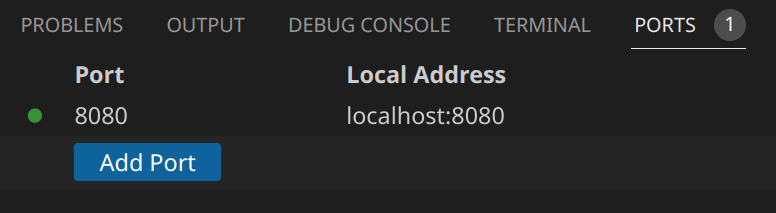
Your service should be running (without any visible output), and port 8080 should be automatically forwarded to your local machine.
You can test the service by running a command like the following from a normal terminal in your local machine (outside of VS Code). Here we use curl, but any tool for performing HTTP requests should work (including your browser).
Shell
curl 'http://localhost:8080/greet?name=Jane'
When you want to build a Docker image out of your project, you can use the automatically-generated Dockerfile. The following command will create a Docker image.
Shell
docker build . -t tutorial:latest
To test it, you can run it locally like this:
Shell
docker run -p 8080:8080 -it --rm tutorial:latest
For an explanation of the flags, check the Docker run documentation. Essentially, -p 8080:8080 makes port 8080 available to the host, -it runs the container interactively, and --rm removes the container once it terminates. You should be able to test the service by running the same curl command shown above.
We Provide consulting, implementation, and management services
on DevOps, DevSecOps, Cloud, Automated Ops, Microservices, Infrastructure, and
Security
Services offered by us: https://www.zippyops.com/services
Our Products: https://www.zippyops.com/products
Our Solutions: https://www.zippyops.com/solutions
For Demo, videos check out YouTube Playlist: https://www.youtube.com/watch?v=4FYvPooN_Tg&list=PLCJ3JpanNyCfXlHahZhYgJH9-rV6ouPro
If this seems interesting, please email us at [email protected]
for a call.
Relevant Blogs:
Unlocking Four Requirements for Enterprise-Grade Kubernetes
Serverless Reference Architecture
AWS CDK Project Blueprint - Modeling and Organizing
AWS CDK Project Blueprint - Modeling and Organizing (Part 2/2)


Recent Comments
No comments
Leave a Comment
We will be happy to hear what you think about this post