Docker Files and Volumes: Permission Denied
Encountered a ‘Permission Denied’ error on a file copied to a Docker image or when accessing a file on a mounted volume within a Docker container? In this blog, you will learn why you get a ‘Permission Denied’ error and how to solve it. Enjoy!
1. Introduction
Before diving into the Permission Denied problem within Docker containers, it is good to have a basic knowledge how permissions function in Linux. If you are already familiar with these concepts, you can skip this paragraph.
A good starting point for getting acquainted with permissions can be found at the Ubuntu documentation and this excellent explanation about umask. If you want a quick summary, read on!
When you create a new directory blog and list the properties of that directory, you will see the following output in a terminal window:
Shell
$ mkdir blog
$ ls -la
drwxrwxr-x 2 user group 4096 Aug 14 06:15 blog/
Let’s examine some items which are listed here from left to right:
d Indicates this is a directory.
rwx The owner’s permissions. In this case, the owner has read, write and execute permissions.
rwx The group’s permissions. A user belongs to one or more groups. In this case, the permissions are identical as for the owner.
r-x The other’s permissions. Anyone else, not being the owner or not belonging to the group, will have in this case read and execute permissions.
user The directory is owned by this user. Under the hood, this logical name is mapped to a user id (uid). When you have only one user, this will probably be uid 1000.
group The directory is owned by this group. Under the hood, this logical name is mapped to a group id (gid). Your gid will probably be gid 1000.
When you create a new file defaultpermissions.txt and list the properties of the file, you will see a similar output:
Shell
$ touch defaultfilepermissions.txt
$ ls -la
-rw-rw-r-- 1 user group 0 Aug 14 06:20 defaultfilepermissions.txt
The permissions are listed in a similar way as for the directory. There is no d as first item because it is not a directory of course and the file does not have any execute permissions.
2. Prerequisites
The tests executed in the following paragraphs are executed from within a VirtualBox Virtual Machine (VM) based on Ubuntu 22.04 provided by osboxes.org..
Once logged in into the VM, docker needs to be installed. At the time of writing, Docker v20.10.14 is used.
Shell
$ sudo snap install docker
You can also execute the tests from you own local installation of Ubuntu, no changes to your system settings are required for executing the tests.
When using the OSBoxes VM, the user/group will be osboxes/osboxes. If you are using your own system, the user/group can be retrieved by using the users and groups command.
The files used in the paragraphs below are available at GitHub.
3. Container Running as Root
In this first test, a file will be copied from the local file system to the Docker image. The base image for the Docker image is the Alpine Linux image.
Create a directory 1-defaultcontainer, navigate to the directory and create a test.txt file with some dummy contents. Create a Dockerfile in the same directory with the following contents:
Plain Text
FROM alpine:3.16.2
COPY test.txt /tmp/test.txt
The FROM instruction will use the Alpine Linux 3.16.2 base Docker image and the COPY instruction will copy the local test.txt file into the Docker image at location /tmp/test.txt.
From a terminal window, build the Docker image:
Shell
$ sudo docker build -f Dockerfile -t dockertest .
[sudo] password for osboxes:
Sending build context to Docker daemon 3.072kB
Step 1/2 : FROM alpine:3.16.2
3.16.2: Pulling from library/alpine
213ec9aee27d: Pull complete
Digest: sha256:bc41182d7ef5ffc53a40b044e725193bc10142a1243f395ee852a8d9730fc2ad
Status: Downloaded newer image for alpine:3.16.2
---> 9c6f07244728
Step 2/2 : COPY test.txt /tmp/test.txt
---> 842ef14a6a73
Successfully built 842ef14a6a73
Successfully tagged dockertest:latest
Start the Docker container with interactive mode in order to be able to use the shell:
Shell
$ sudo docker run --rm -it dockertest /bin/sh
Navigate to directory /tmp and list the files:
Shell
# ls -la
-rw-rw-r-- 1 root root 23 Aug 14 10:33 test.txt
Notice that the file permissions are preserved, but the user/group is root/root. By default, a Docker container runs as the root user which is a security concern.
Try to execute cat test.txt and you will notice that the contents of the file are output. Try to edit the file by means of vi and save the file. This action is also allowed. These results are logical: the root user executes them and root can do anything.
Exit the shell by typing exit.
In order to ensure that the tests are executed independently from each other, remove the Docker image as follows:
Shell
$ sudo docker rmi dockertest
4. Container Running as User 1000
This test is similar as the first one, except that you will create a user for the Docker container. This way, the container will not run anymore as the root user, which is a more secure way for running a container.
Create a directory 2-containeruser1000, navigate to the directory and create a test.txt file with some dummy contents. Create a Dockerfile in the same directory with the following contents:
Dockerfile
FROM alpine:3.16.2
RUN addgroup --g 1000 groupcontainer
RUN adduser -u 1000 -G groupcontainer -h /home/containeruser -D containeruser
USER containeruser
COPY test.txt /home/containeruser/test.txt
What is happening in this new Dockerfile?
• With RUN addgroup, a group groupcontainer is created with gid 1000;
• With RUN adduser, a user containeruser is created with uid 1000, belonging to group groupcontainer and home directory /home/containeruser;
• With USER containeruser, the container runs with user containeruser;
• The local test.txt file is copied to the home directory of containeruser.
This Dockerfile can be made more efficient in order to reduce the number of layers.
Build and run the container just like you did before. First check which user is running the container:
Shell
# whoami
containeruser
As expected, the container runs as user containeruser. Navigate to the home directory of containeruser and list the files:
Shell
# ls -la
-rw-rw-r-- 1 root root 23 Aug 14 10:58 test.txt
This might surprise you, but the owner of the file is still root/root.
Try to execute cat test.txt and you will notice that the contents of the file are output. This can be done because other has read permissions. Remember, the container runs as user containeruser now. Try to edit the file with vi and save the file. This is not possible: a warning is raised that the file is read-only. That is because other does not have write permissions.
When you are still not convinced, execute the same test but with uid/gid 1024. The results are the same. The files are available in the repository in directory 3-containeruser1024. Below the corresponding Dockerfile:
Dockerfile
FROM alpine:3.16.2
RUN addgroup --g 1024 groupcontainer
RUN adduser -u 1024 -G groupcontainer -h /home/containeruser -D containeruser
USER containeruser
COPY test.txt /home/containeruser/test.txt
Remove the Docker image.
5. Container Running as User 1024 and Changed Ownership
In this paragraph, you will solve the permission issue. The trick is to change the ownership of the file to the user running the Docker container. Create a directory 4-containeruser1024changedowner. The Dockerfile is:
Dockerfile
FROM alpine:3.16.2
RUN addgroup --g 1024 groupcontainer
RUN adduser -u 1024 -G groupcontainer -h /home/containeruser -D containeruser
USER containeruser
COPY --chown=containeruser:groupcontainer test.txt /home/containeruser/test.txt
In the line containing COPY, the ownership of the test.txt file is changed to user containeruser and group groupcontainer.
Build and run the container just like you did before. Navigate to the home directory of user containeruser and list the files:
Shell
# ls -la
-rw-rw-r-- 1 containe groupcon 23 Aug 14 10:58 test.txt
Try to execute cat test.txt and you will notice that the contents of the file are output. Try to edit the file with vi and save the file. This is allowed, because this time, containeruser owns the file and has the proper write permissions.
Remove the Docker image.
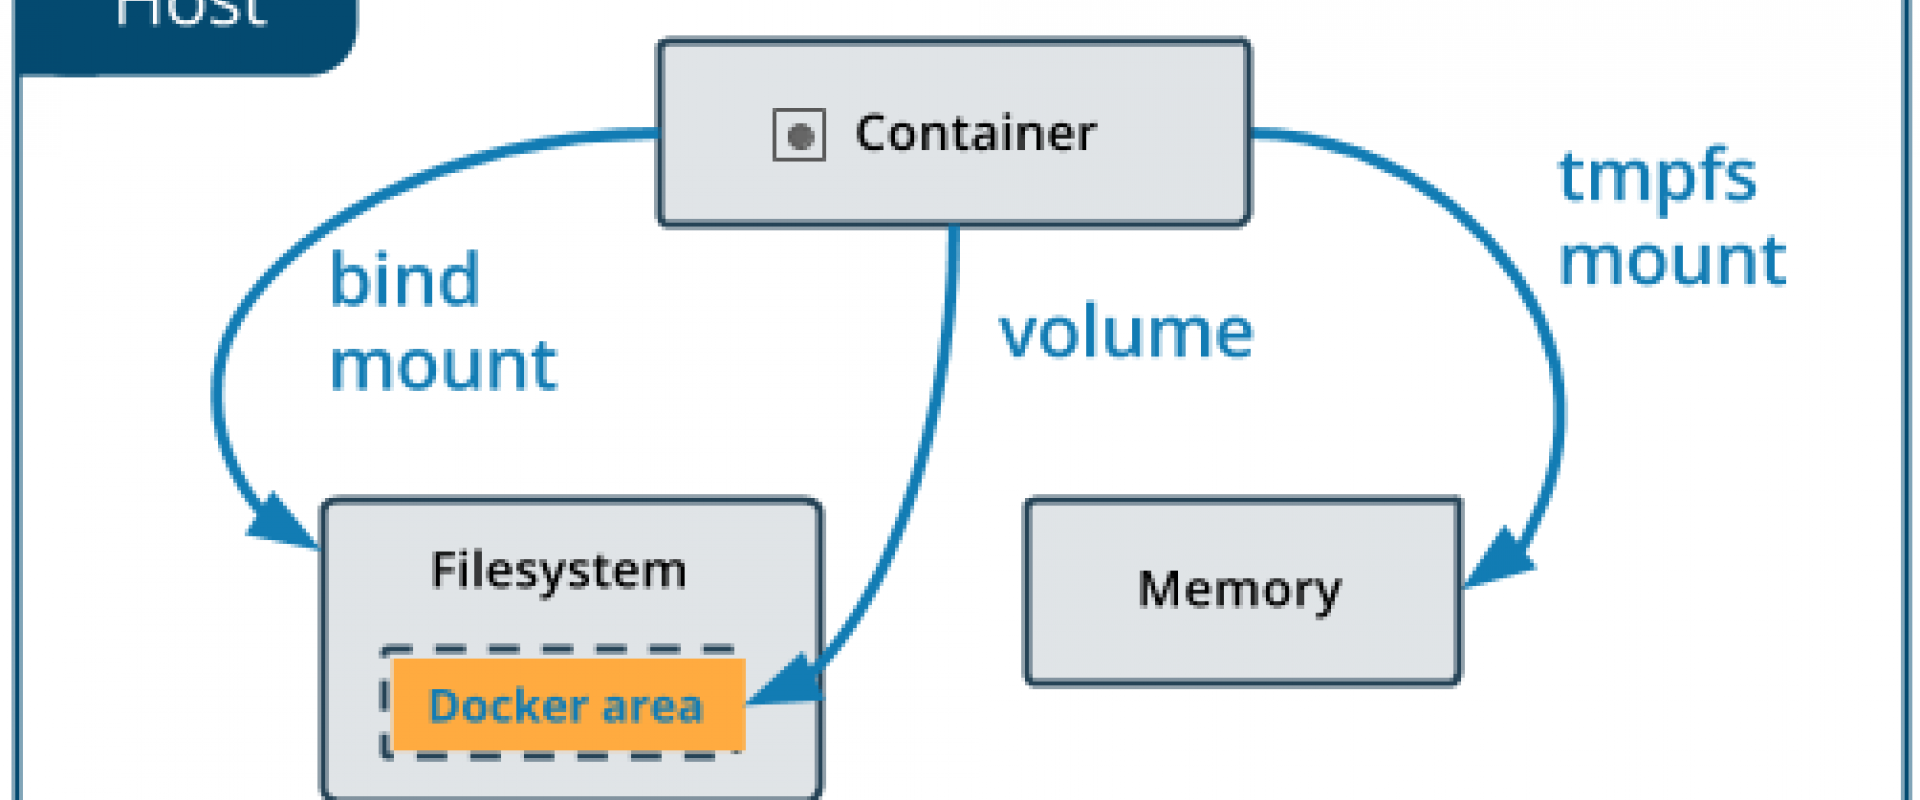
6. Volume Mappings
With volume mappings, you will map a local directory to a directory inside the Docker container. This can be more tricky, because you must make some assumptions about the local system permissions, users, groups, etc. And often this just works fine because your local uid/gid is probably 1000/1000 and inside the container this will be similar. With volume mappings, it is important that the uid/gid of the owner is identical outside and inside the container. Let’s see how this works!
Create a directory 5-volumemapping and create a directory testdir and a test.txt file with some dummy contents inside this directory.
Check the uid/gid of your local user:
Shell
$ id -u osboxes
1000
$ id -g osboxes
1000
The permissions of the directory are:
Shell
$ ll
drwxrwxr-x 2 osboxes osboxes 4096 Aug 14 04:19 testdir/
The permissions of the file are:
Shell
$ ll
-rw-rw-r-- 1 osboxes osboxes 23 Aug 14 06:58 test.txt
This time, you use the following Dockerfile:
Dockerfile
FROM alpine:3.16.2
RUN addgroup --g 1024 groupcontainer
RUN adduser -u 1024 -G groupcontainer -h /home/containeruser -D containeruser
USER containeruser
RUN mkdir /home/containeruser/testdir
Notice that for the test it is important that the uid/gid of your local user and the user inside the container are different. You do not copy the file this time to the container, but with RUN mkdir, you ensure that a directory exists where the local volume can be mapped to.
Build the Docker image as before and run the container from inside directory 5-volumemapping as follows. The -v parameter will mount the local testdir directory to the testdir directory into the home directory of user containeruser.
Shell
$ sudo docker run -v $(pwd)/testdir:/home/containeruser/testdir --rm -it dockertest /bin/sh
Navigate to directory /home/containeruser and list the contents:
Shell
# ls -la
drwxrwxr-x 2 1000 1000 4096 Aug 14 10:23 testdir
As you can see, the uid/gid has the values 1000/1000 which is the uid/gid of the local system user who has created the directory.
Navigate to directory testdir and list the contents:
Shell
# ls -la
-rw-rw-r-- 1 1000 1000 23 Aug 14 10:23 test.txt
Again, you notice the same ownership for the file as for the directory.
Try to read the contents of file test.txt, this succeeds. Try to create a new file test2.txt, this returns a Permission Denied error because other does not have write permissions in this directory.
Shell
# cat test.txt
this is a test message
# touch test2.txt
touch: test2.txt: Permission denied
How to solve this, is excellently explained in this blog.
Change the ownership of the directory in order that group 1024 has the ownership on the local system.
Shell
$ sudo chown :1024 testdir/
Ensure that new files get the group ownership.
Shell
$ chmod g+s testdir/
Check the directory permissions from inside the container of directory testdir:
Shell
# ls -la
drwxrwxr-x 2 1000 groupcon 4096 Aug 12 10:23 testdir
Now you notice that the group groupcontainer has ownership of this directory.
Navigate to directory testdir, create a file, edit it with vi and output the contents. All of this is possible now.
Shell
# touch test2.txt
# vi test2.txt
# cat test2.txt
another test message
Check the permissions of the files.
Shell
# ls -la
-rw-rw-r-- 1 1000 1000 23 Aug 14 10:23 test.txt
-rw-r--r-- 1 containe groupcon 0 Aug 14 10:37 test2.txt
The file test.txt still has its original ownership for uid/gid 1000/1000, the new test2.txt file has ownership for containeruser/groupcontainer.
From the local system, it will be possible to read the contents of test2.txt, but it will not be allowed to change its contents due to the read-only permissions for other. Depending on your use case, several solutions exist how to solve this as described in the mentioned blog post.
Remove the Docker image.
7. Conclusion
Permission Denied errors when copying files into Docker images can be easily solved within the Dockerfile. Just follow the provided solution described in this blog. Permission Denied errors with volume mappings between a local directory and a directory inside the container can be a bit more tricky. Hopefully, the information provided in this blog will help you understand and solve the Permission Denied errors.
We ZippyOPS, Provide consulting, implementation, and management services on DevOps, DevSecOps, Cloud, Automated Ops, Microservices, Infrastructure, and Security
Services offered by us: https://www.zippyops.com/services
Our Products: https://www.zippyops.com/products
Our Solutions: https://www.zippyops.com/solutions
For Demo, videos check out YouTube Playlist: https://www.youtube.com/watch?v=4FYvPooN_Tg&list=PLCJ3JpanNyCfXlHahZhYgJH9-rV6ouPro
Relevant Blogs:
5 Kubernetes Lens Alternatives
A Deep Dive Into Distributed Tracing
Recent Comments
No comments
Leave a Comment
We will be happy to hear what you think about this post