Nagios installation and configuration

Nagios Installation
Install Build Dependencies:
#sudo yum install gcc glibc glibc-common gd gd-devel make net-snmp openssl-devel xinetd unzip
Create Nagios User and Group:
Create a “nagios” user and “nagcmd” group, then add the user to the group with these commands
#sudo useradd nagios
#sudo groupadd nagcmd
#sudo usermod -a -G nagcmd nagios
Install Nagios
#cd /opt
#curl -L -O https://assets.nagios.com/downloads/nagioscore/releases/nagios-4.4.6.tar.gz
#ls
nagios-4.4.6.tar.gz
Extract the Nagios archive with this command
#tar xvf nagios-*.tar.gz
#cd nagios-*
Before building Nagios, we must configure it with this command:
#./configure --with-command-group=nagcmd
Now compile Nagios with this command:
#make all
Now we can run these make commands to install Nagios, init scripts, and sample configuration files:
#sudo make install
#sudo make install-commandmode
#sudo make install-init
#sudo make install-config
#sudo make install-webconf
In order to issue external commands via the web interface to Nagios, we must add the web server user, apache, to the nagcmd group:
#sudo usermod -G nagcmd apache
Install Nagios Plugins
#cd /opt/
#curl -L -O http://nagios-plugins.org/download/nagios-plugins-2.1.1.tar.gz
#tar xvf nagios-plugins-*.tar.gz
#cd nagios-plugins-*
Before building Nagios Plugins, we must configure it. Use this command:
#./configure --with-nagios-user=nagios --with-nagios-group=nagios --with-openssl
Now compile Nagios Plugins with this command:
#make
#sudo make install
Install NRPE
#cd /opt
#curl -L -O http://downloads.sourceforge.net/project/nagios/nrpe-2.x/nrpe-2.15/nrpe-2.15.tar.gz
Extract the NRPE archive with this command
#tar xvf nrpe-*.tar.gz
#cd nrpe-*
Configure NRPE with these commands
#./configure --enable-command-args --with-nagios-user=nagios --with-nagios-group=nagios --with-ssl=/usr/bin/openssl --with-ssl-lib=/usr/lib/x86_64-linux-gnu
Now build and install NRPE and its xinetd startup script with these commands:
#make all
#sudo make install
#sudo make install-xinetd
#sudo make install-daemon-config
Open the xinetd startup script in an editor:
#sudo vi /etc/xinetd.d/nrpe
only_from = 127.0.0.1 192.168.4.29
Modify the only_from line by adding the private IP address of the your Nagios server to the end
Restart the xinetd service to start NRPE:
#sudo service xinetd restart
Configure Nagios:
Organize Nagios Configuration
#sudo vi /usr/local/nagios/etc/nagios.cfg
Now find an uncomment this line by deleting the #:
#cfg_dir=/usr/local/nagios/etc/servers
Now create the directory that will store the configuration file for each server that you will monitor:
#sudo mkdir /usr/local/nagios/etc/servers
Configure Nagios Contacts
email nagios@localhost ; <<***** CHANGE THIS TO YOUR EMAIL ADDRESS ******
Find the email directive, and replace its value (the highlighted part) with your own email address:
Configure check_nrpe Command
#sudo vi /usr/local/nagios/etc/objects/commands.cfg
Add the following to the end of the file:
define command{
command_name check_nrpe
command_line $USER1$/check_nrpe -H $HOSTADDRESS$ -c $ARG1$
}
Configure Apache
#sudo htpasswd -c /usr/local/nagios/etc/htpasswd.users nagiosadmin
Note: If you create a user that is not named “Nagiosadmin”, you will need to edit /usr/local/nagios/etc/cgi.cfg and change all the “Nagiosadmin” references to the user you created.
#sudo systemctl daemon-reload
#sudo systemctl start nagios.service
#sudo systemctl restart httpd.service
#sudo chkconfig nagios on
Optional: Restrict Access by IP Address
#sudo vi /etc/httpd/conf.d/nagios.conf
Find and comment the following two lines by adding # symbols in front of them:
Order allow,deny
Allow from all
Then uncomment the following lines, by deleting the # symbols, and add the IP addresses or ranges (space-delimited) that you want to allow to in the Allow from the line:
# Order deny,allow
# Deny from all
# Allow from 127.0.0.1
Now start Nagios and restart Apache to put the change into effect:
#sudo systemctl restart nagios.service
#sudo systemctl restart httpd.service
Accessing the Nagios Web Interface
#http://nagios_server_public_ip/nagios
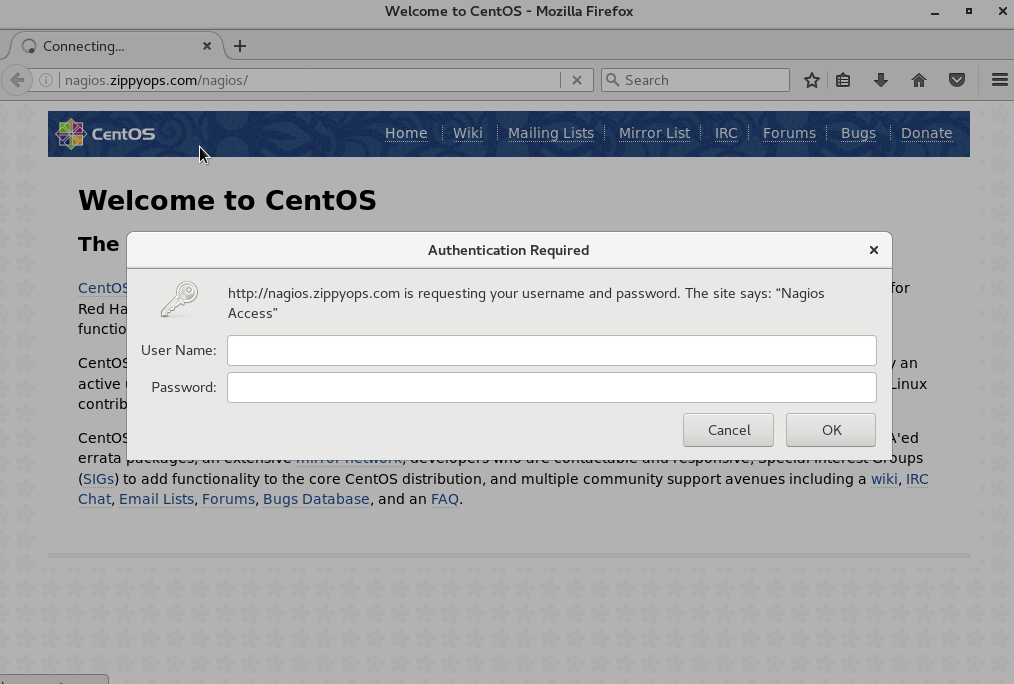
Nagios After login screen –
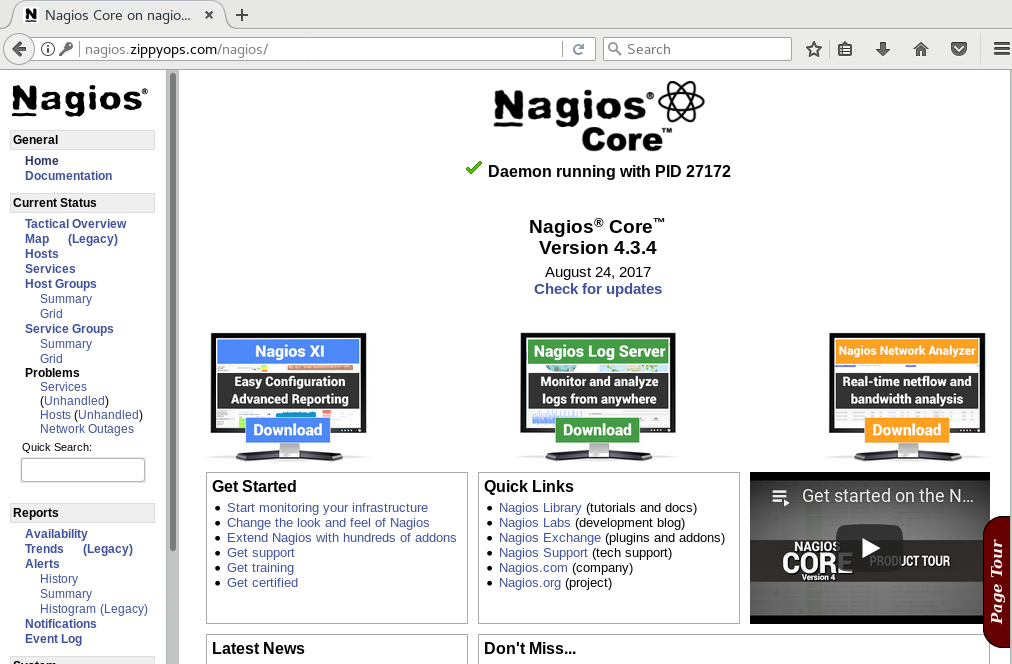
Now we have successfully installed and configured Nagios core service in your system
Relevant blogs:
Recent Comments
No comments
Leave a Comment
We will be happy to hear what you think about this post