VmWare Vsphere Installation

Introduction to vSphere Installation and Setup
VSphere 6.7 provides various options for installation and setup. To ensure a successful vSphere deployment, understand the installation and setup options, and the sequence of tasks.
The two core components of vSphere are ESXi and vCenter Server.
ESXi is the virtualization platform on which you can create and run virtual machines and virtual appliances.
vCenter Server is a service that acts as a central administrator for ESXi hosts connected to a network. vCenter Server lets you pool and manages the resources of multiple hosts.
You can install vCenter Server on a Windows virtual machine or physical server, or deploy the vCenter Server Appliance. The vCenter Server Appliance is a preconfigured Linux-based virtual machine optimized for running the vCenter Server and the vCenter Server components. You can deploy the vCenter Server Appliance on ESXi hosts 6.0 or later, or on vCenter Server instances 6.0 or later.
vSphere Installation and Setup Process
vSphere Installation and Setup Workflow

VMWARE ESXI 6.7
ESXi is a type-1 hypervisor, meaning it runs directly on system hardware without the need for an operating system (OS). Type-1 hypervisors are also referred to as bare-metal hypervisors because they run directly on hardware.
Installing VMware vSphere Hypervisor 6.7 (ESXi 6.7)
Before the installation Goto -> Boot Menu -> System Security -> Enable Virtualization.
Download the ESXi 6.7 ISO and make a bootable CD/DVD.
You can directly use the ISO by mounting it as a virtual image.
Mount the ESXi ISO to the server.
Start the Server and boot from CD/DVD.
You will see the below screen at the time of boot.
Press Enter on the ESXi 6.7 Installer.

The default option is to BOOT ESXi-6.7.0-8169922-standard Installer after 10 seconds, hitting any key will pause the BOOT process. The number 8169922 is the Build Version of the software.

At the Welcome to the VMware ESXi 6.7.0 Installation screen Hit Enter to continue the installation.

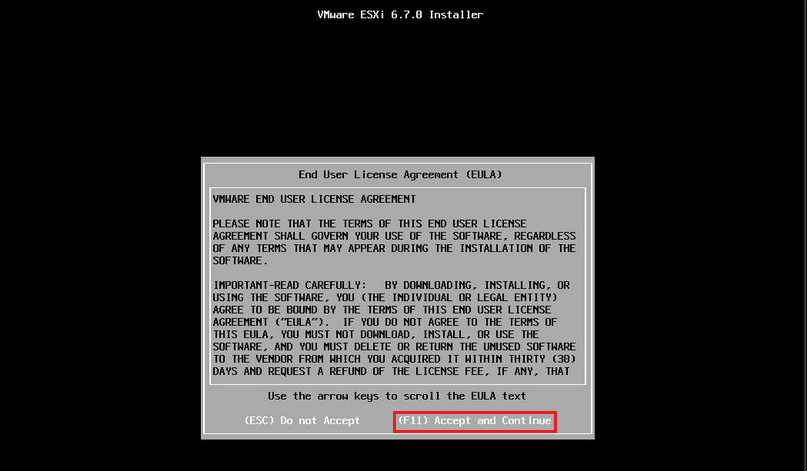
Press F11 (Function Key 11) to Accept the VMware End User License Agreement (EULA)
The ESXi installer will scan the computer storage controller for available devices to install ESXi.

ESXi can be installed on a USB flash drive, SD card attached to the server, local SATA, local RAID Array, or Fibre Channel or iSCSI LUNs. All these are supported options. As the footprint for ESXi is very small only 1GB is required for the ESXi OS installation.
When prompted to select a disk to install ESXi on, in the following example, we have two disks connected to this computer, a single 1GB disk and a 120GB disk. We are going to use a small disk for the OS. (this simulates the USB flash drive!). The larger 120GB disk will be used later for the storage of virtual machines later in another article.

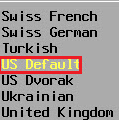
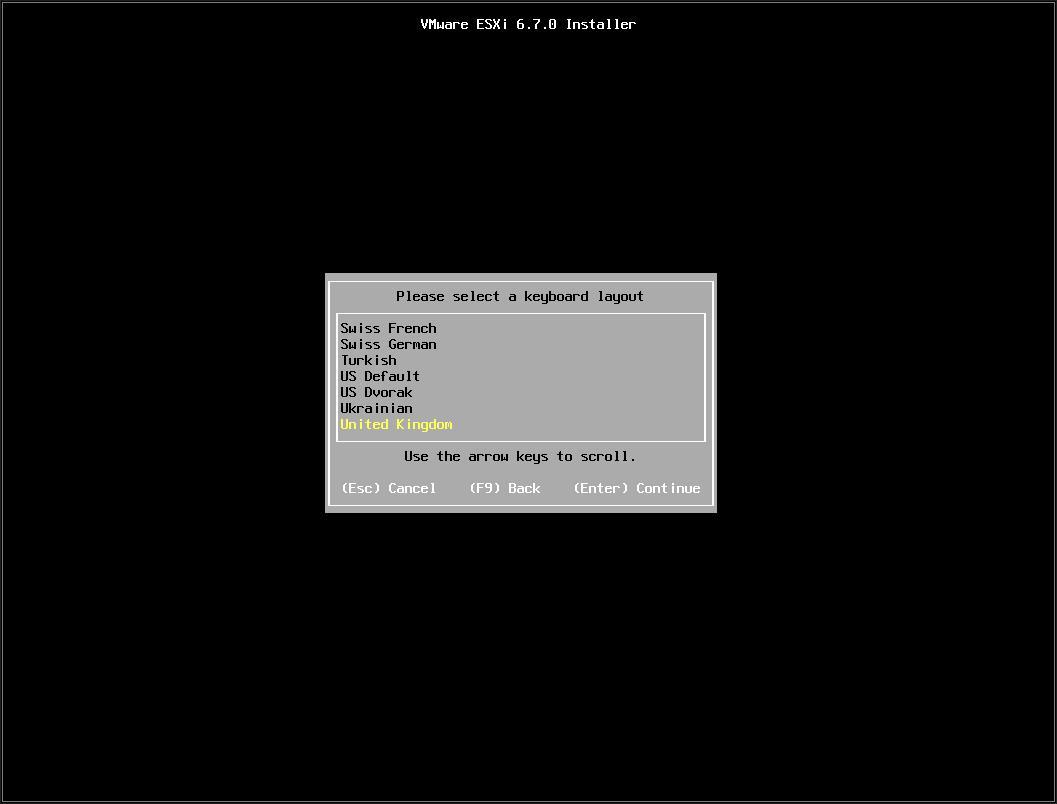
When prompted, select the keyboard layout and hit Enter to continue. The default keyboard layout is US Default. Select the US Default.
When prompted enter a root password, confirm the password, and hit Enter to continue. Please ensure the password is complex, and the root password is recorded. There is no password recovery, if the password is forgotten there is no method to recover, other than re-install ESXi.

The following will be displayed

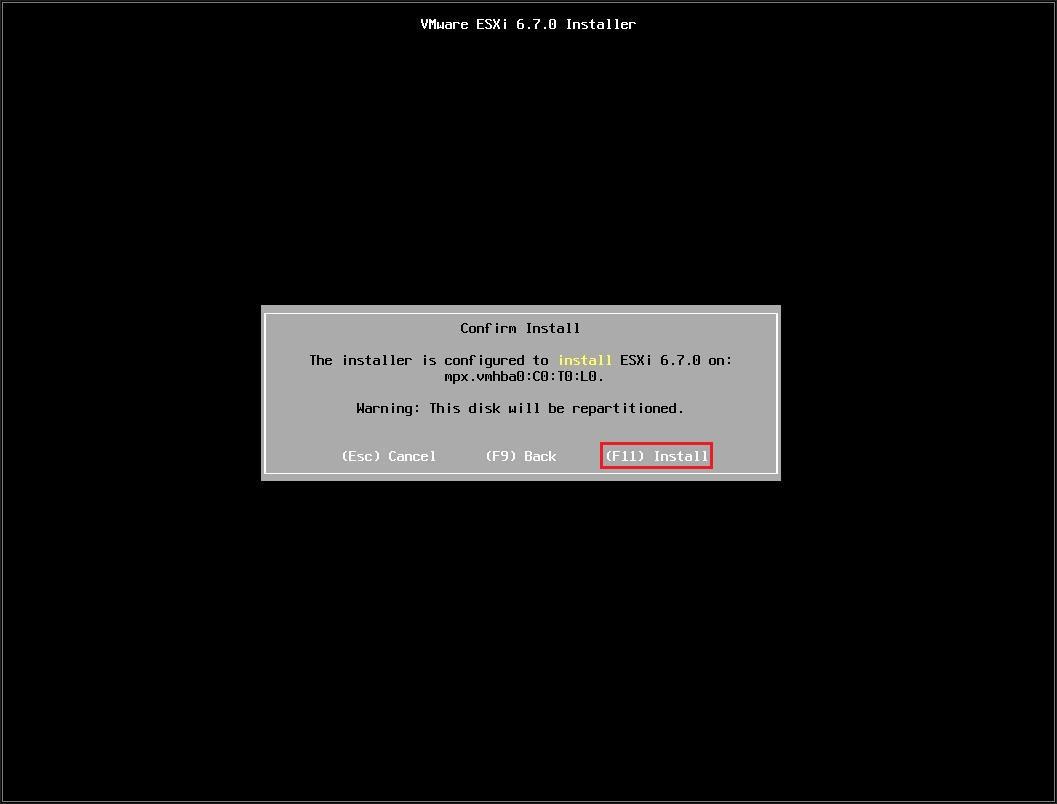
When prompted Confirm the Installation on the selected disk and press F11 (Install)
All data will be erased, as the disk will be formatted and partitioned.
The Progress Bar will confirm installation progress.
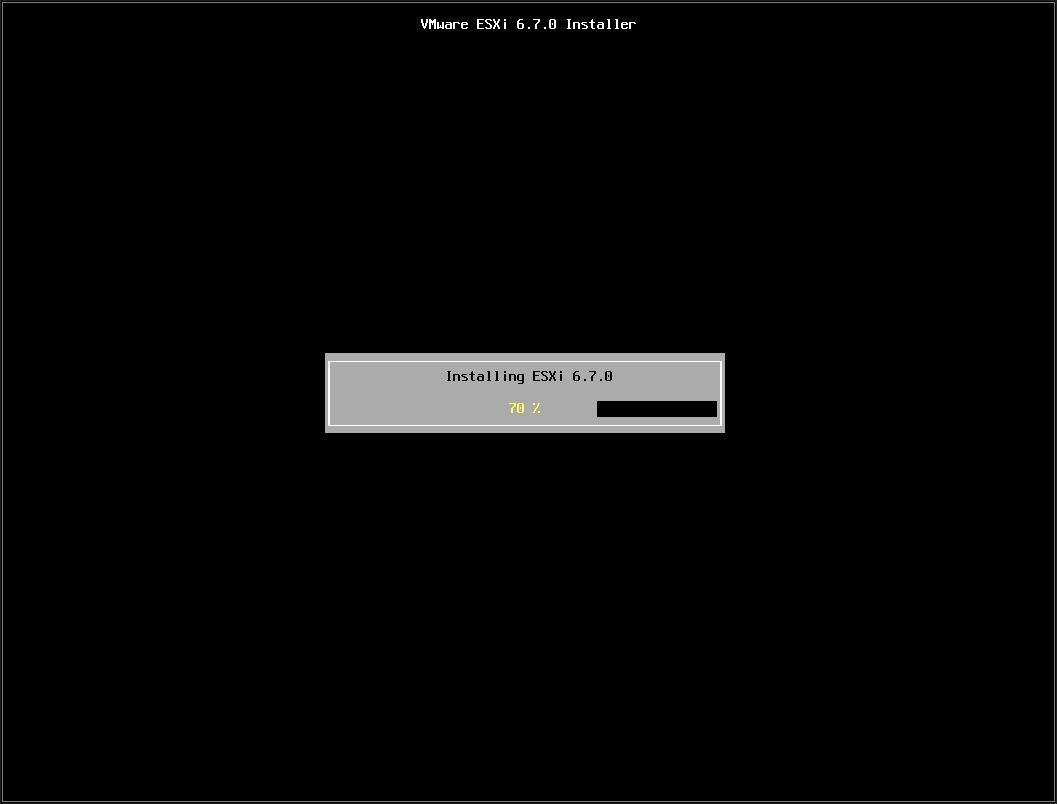
The installation only takes approximately 5-10 minutes, depending upon the speed of storage. When the installation has completed the following screen will be displayed.
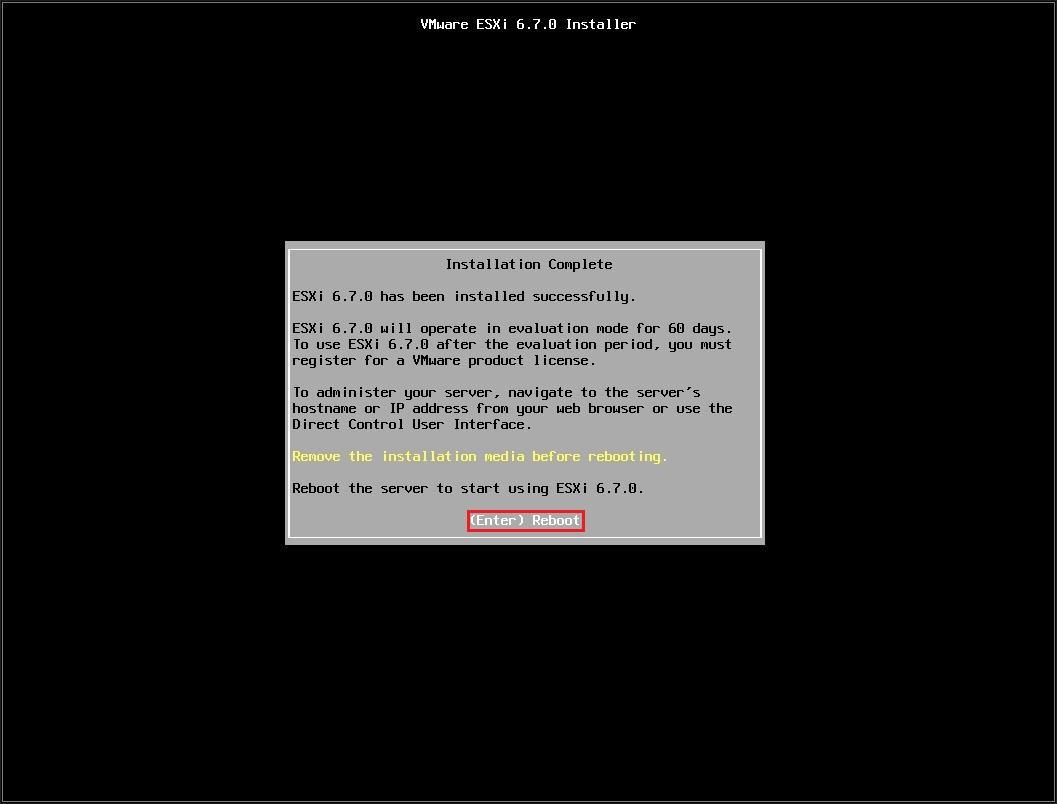
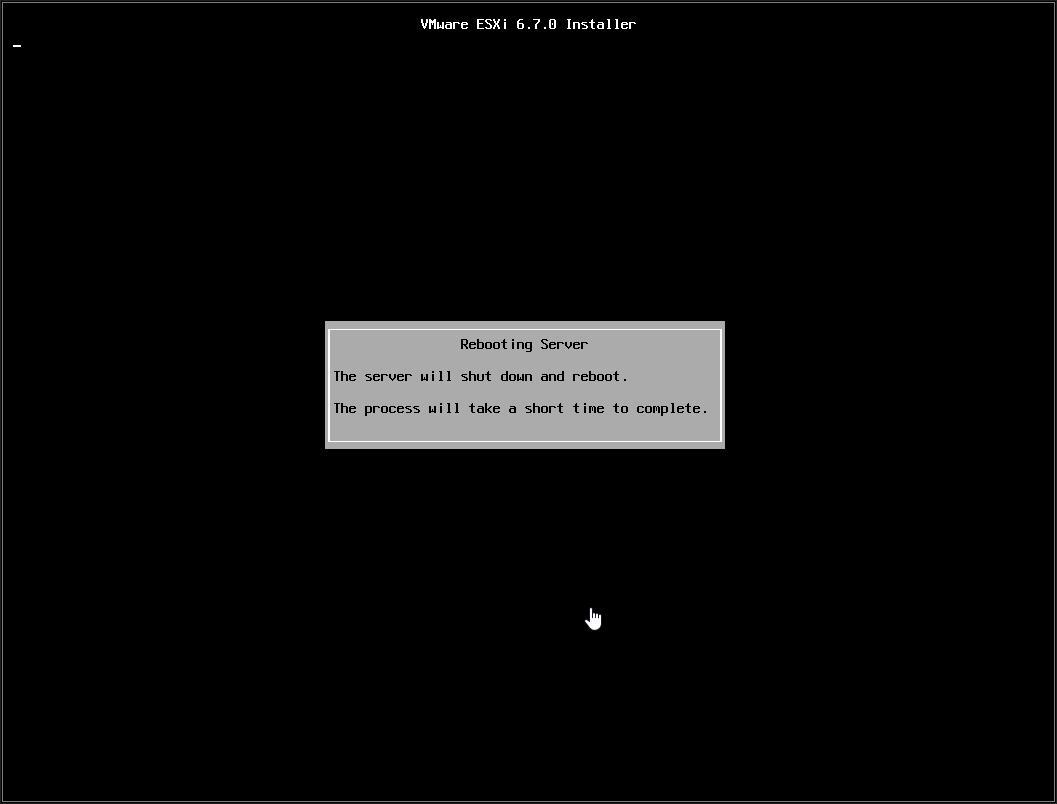
Remove the CDROM installation disk before rebooting. Hit Enter to Reboot. After hitting Enter the following screen will be displayed and the computer will reboot.
ESXi 6.7 will operate in evaluation mode for 60 days. This is the same model as a FULLY LICENSED ESXi 6.7 server. If you wish to evaluate all the bells and whistles that ESXi 6.7 has to offer, do not register your FREE license on the server for 60 days, this will allow you to evaluate ESXi 6.7 server fully. On day 59/60, Apply your FREE license to continue using the product, or you will not be able to power on any virtual machines.
3. Configuring VMware vSphere Hypervisor 6.7 (ESXi 6.7)
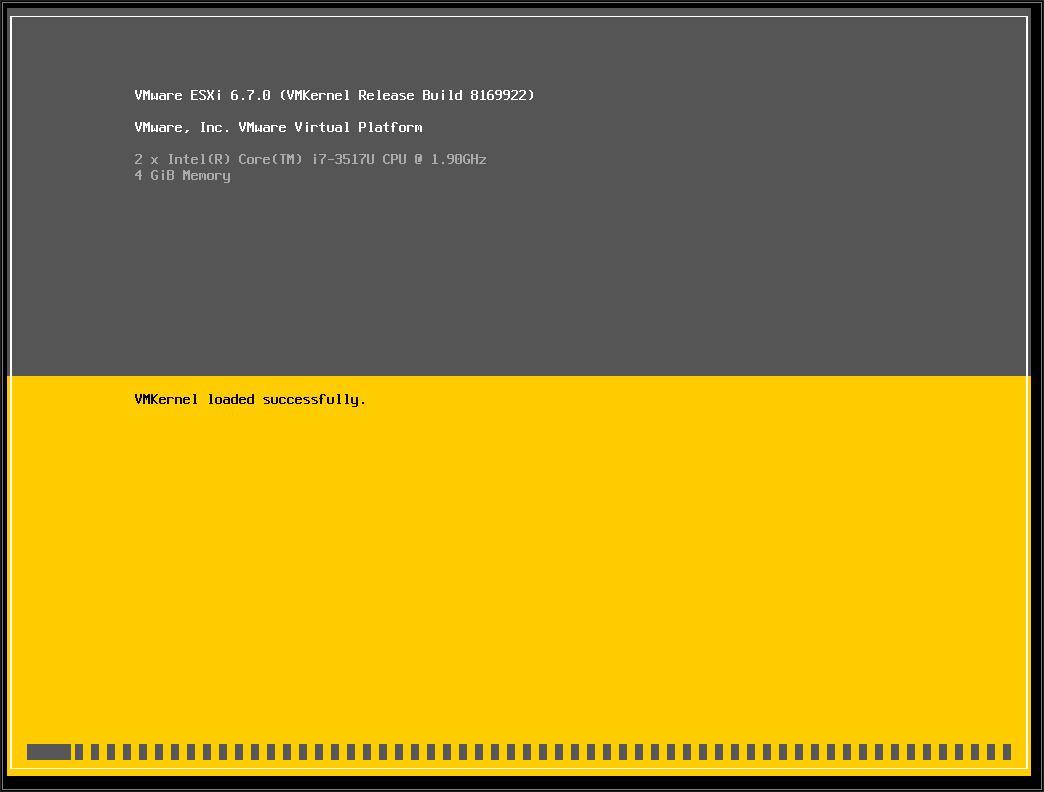
The following screen is displayed when VMware ESXi 6.7 first boots. Please note the recovery options. It auto-boots after 5 seconds.

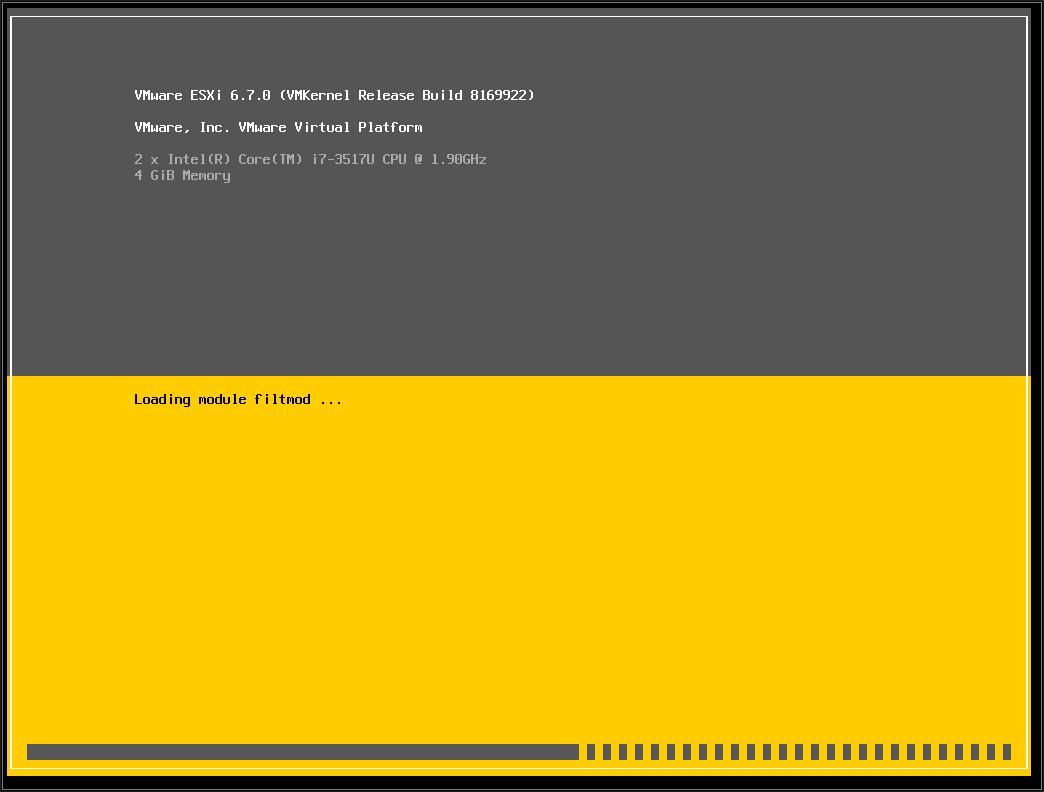
Modules and drivers are loaded into ram.

The modules are initialized
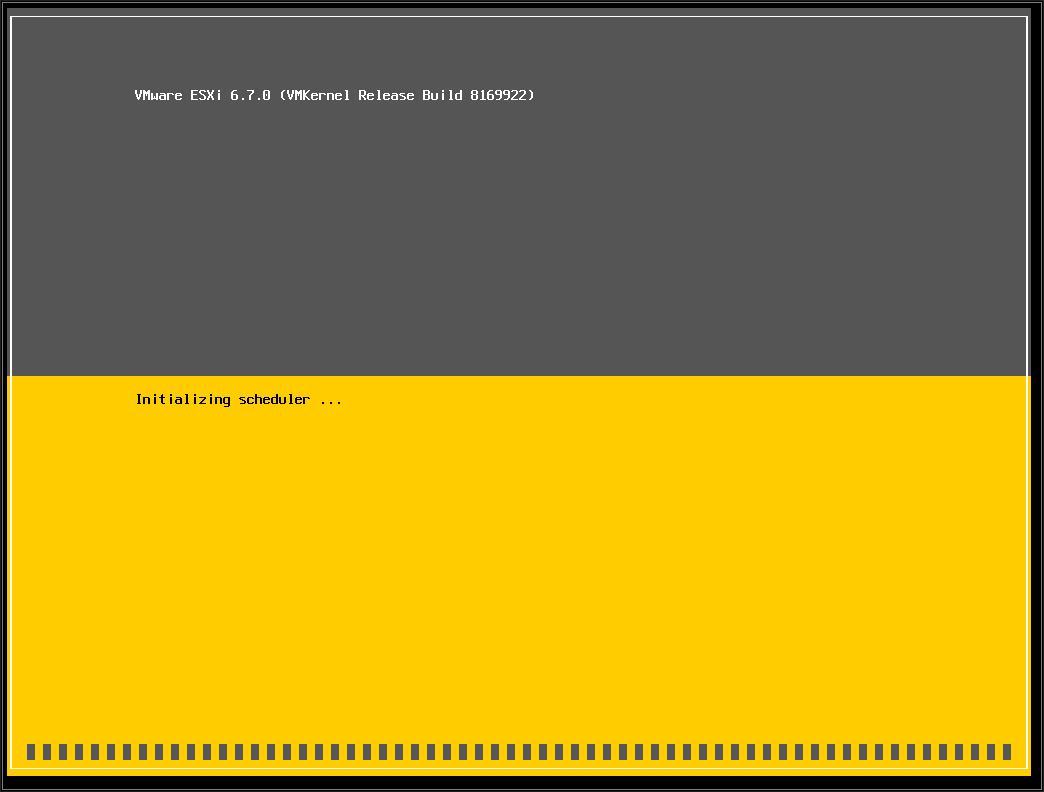
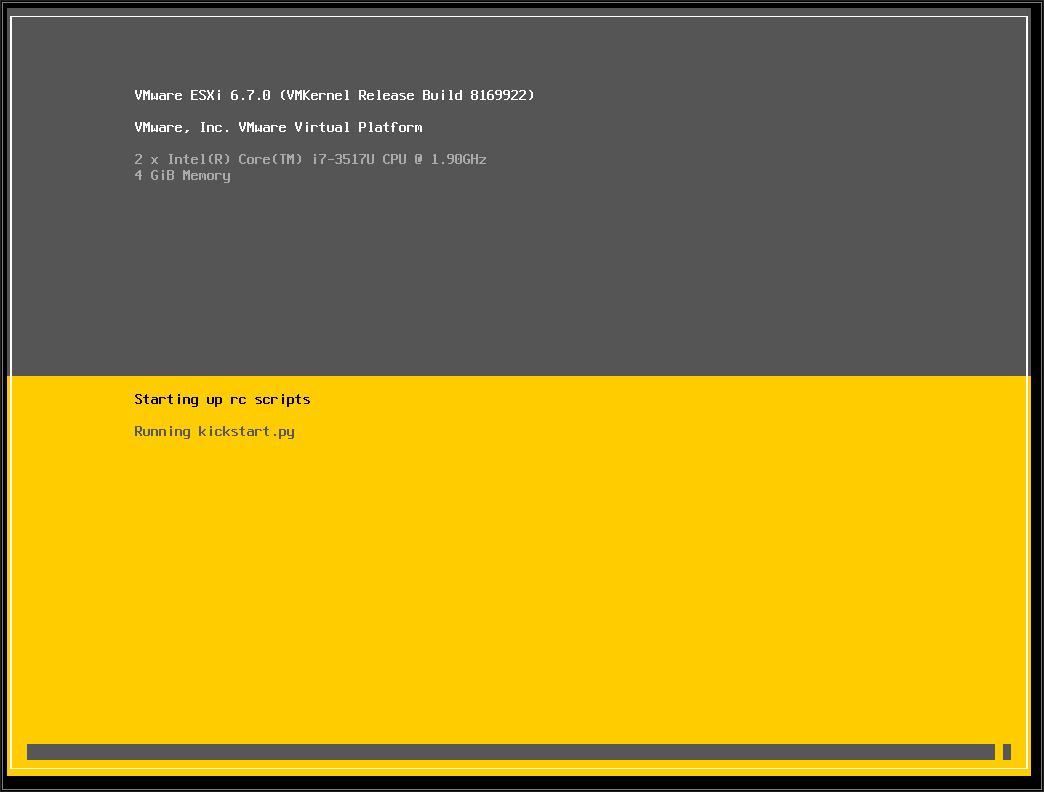
The startup sequence...if using a secure boot UEFI server, the bottom color is cyan, not yellow!
The server is fully booted when it displays the following screen
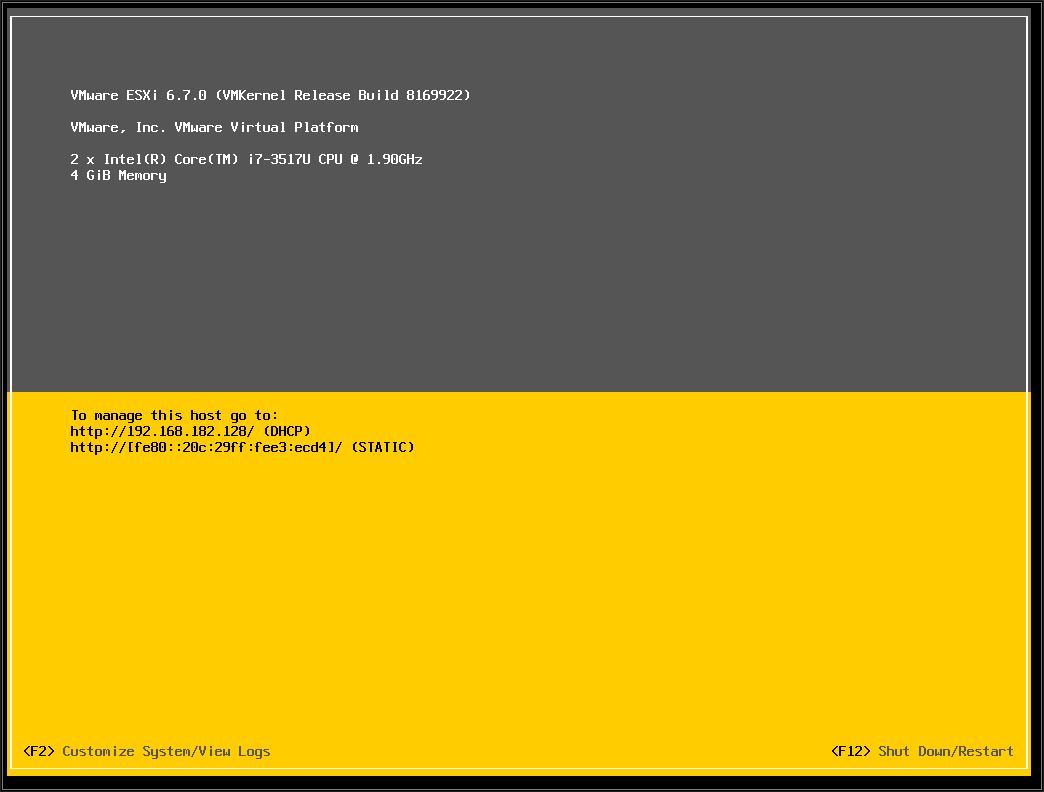
The default server configuration is to use DHCP, if you do not have a DHCP server issuing IP Addresses on your network you will need to assign an IP Address. We recommend you use a static IP Address for your ESXi Host Server and make sure that this IP Address is registered against a DNS A record in DNS.
Press F2 to Customize System, you will be prompted to enter the root username and password. (that you recorded earlier in Step 1.)

Select Configure Management Network to change Network Parameters. Select IPv4 Configuration
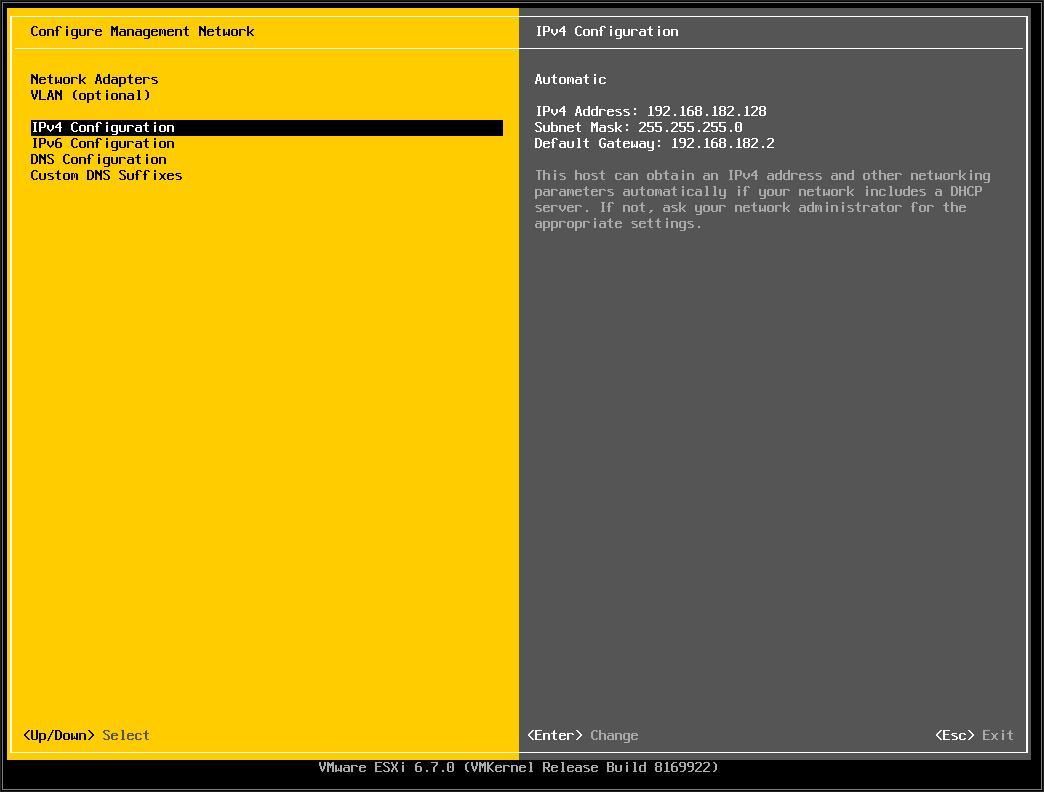
Set the Static IPv4 address and network configuration, Subnet Mask, and Default Gateway, it's important to set the correct Default Gateway, as this will be used later. Hit Enter to confirm and save the configuration.

Select DNS Configuration, enter the correct DNS information for your network, and enter a hostname for your server. Hit Enter to save the configuration. Pay particular attention to DNS when installing VMware vSphere, Ensure you have a good working DNS before you start an installation.

Select Custom DNS Suffixes. Enter your DNS suffix (the domain name for your network). Make sure you have created a DNS A Record in your DNS so that this server can be resolved correctly through forward and reverse lookups.
Hit Enter to save your configuration.

Press Escape. The following screen will appear, select

Press Escape to Logout and return to the console screen.
You will notice on the console screen, the server now has a hostname configured, and a correct static IP Address.

Congratulations you have successfully installed and configured VMware vSphere Hypervisor 6.7.
INSTALLATION OF VCENTER SERVER APPLIANCE 6.7
Considerations
VCSA 6.7 must be deployed to an ESXi host or vCenter running v5.5 or above. However, all hosts you intend to connect to vCenter Server 6.7 should be running ESXi 6.0 or above, hosts running 5.5 and earlier cannot be managed by vCenter 6.7 and do not have a direct upgrade path to 6.7.
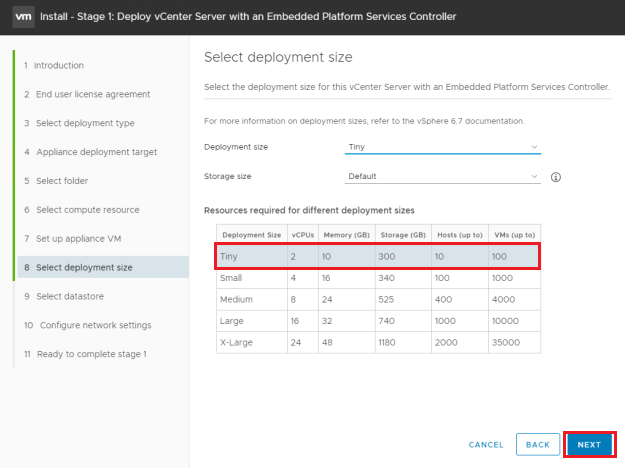
The VCSA with embedded PSC requires the following hardware resources (disk can be thin provisioned)
Tiny (up to 10 hosts, 100 VMs) – 2 CPUs, 10 GB RAM.
Small (up to 100 hosts, 1000 VMs) – 4 CPUs, 16 GB RAM.
Medium (up to 400 hosts, 4000 VMs) – 8 CPUs, 24 GB RAM.
Large (up to 1000 hosts, 10,000 VMs) – 16 CPUs, 32 GB RAM.
X-Large (up to 2000 hosts, 35,000 VMs) – 24 CPUs, 48 GB RAM – new to v6.5.
Storage requirements for the smallest environments start at 250 GB and increase depending on your specific database requirements.
INSTALLATION
Download the VMware vCenter Server Appliance 6.7 ISO from VMware downloads: v6.7.0.
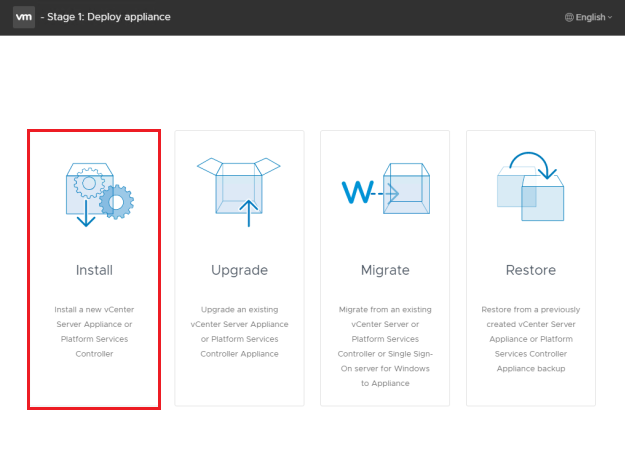
Mount the ISO on your computer. The VCSA 6.7 installer is compatible with Mac, Linux, and Windows. Browse to the corresponding directory for your operating system, e.g. \vcsa-ui-installer\. Right-click Installer and select Run as administrator. As we are installing a new instance click Install.
The installation is split into 2 stages, we begin with deploying the appliance. Click Next.

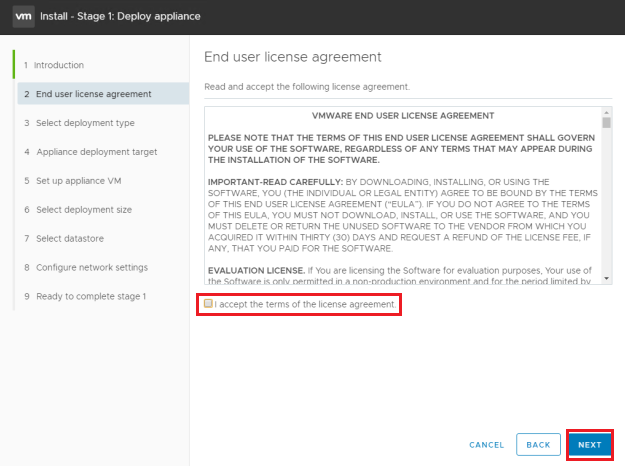
Accept the license agreement and click Next.
Select the deployment model, in this example, we will be using an embedded deployment combining the vCenter Server and Platform Services Controller in one appliance, click Next.

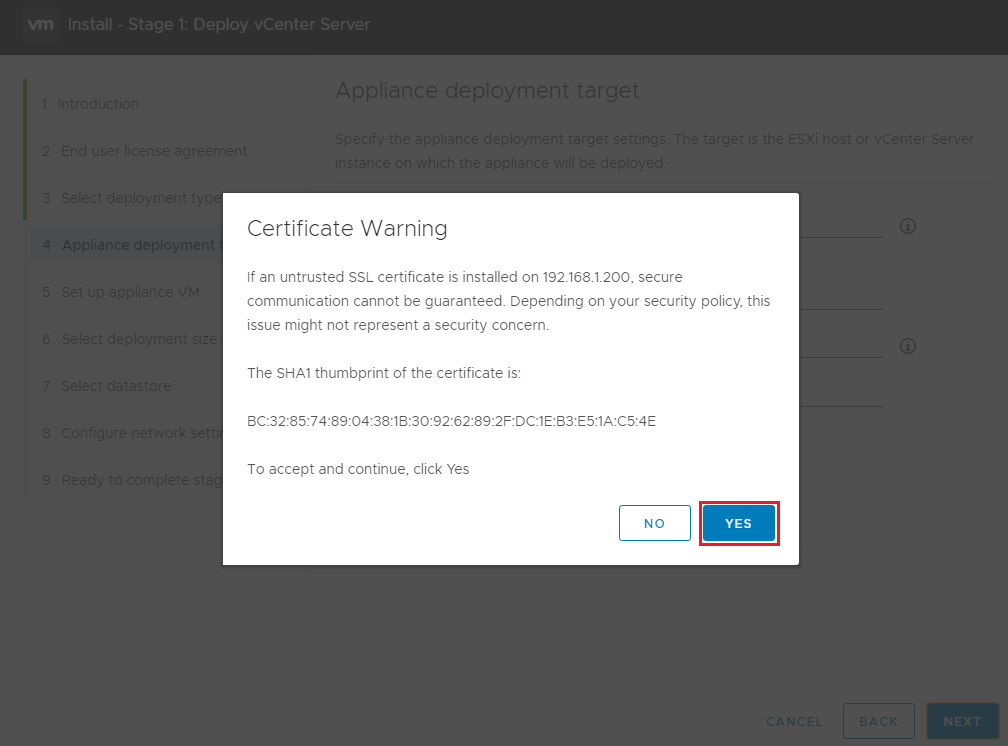
Enter the FQDN or IP address of the host, or vCenter upon which you wish to deploy the new VCSA. Enter the credentials of an administrative or root user and click Next. The installer will validate access, if prompted with an untrusted SSL certificate message click Yes to continue. Tip – connect to the vCenter for visibility of any networks using a distributed switch, connecting to the host direct will only pull back networks using a standard switch.
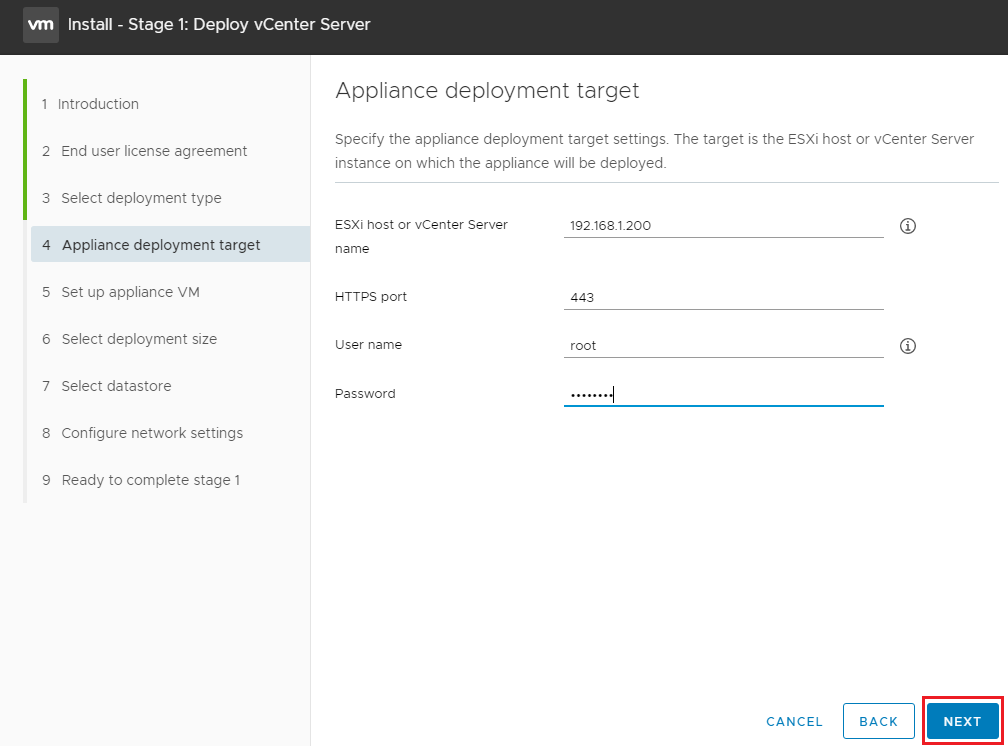
ESXI Host = 192.168.1.210 Username= [email protected]
HTTPS Port=443 Password= 2!*******s
Password=
Enter YES to ACCEPT the Certificate
Provide the vCenter server VM name, the Root password for the vCenter appliance, confirm it – > Next

VM name = VMWare vCenter Server Appliance
Set root password= 2!*******S
Confirm root password= 2!*****S
Select the deployment size in line with the number of hosts and virtual machines that will be managed, click Next.
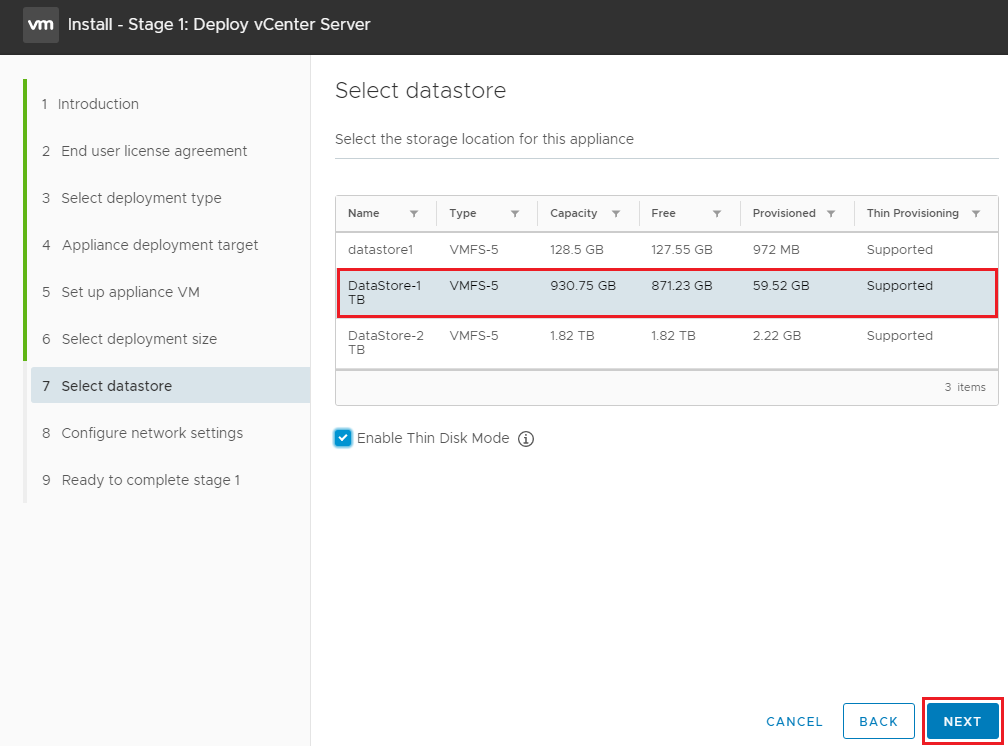
Select the datastore where the VCSA will be deployed, select thin provisioning if required, and click Next.
Configure the network settings for the appliance and click Next.
Provide below details for the vCenter server
Select VM Network used by vCenter server
IP Version: IPV4
IP assignment: static
FQDN: Optional
IP address: 192.168.1.212
Mask: 255.255.255.0
Gateway: 192.168.1.1
DNS Servers: 192.168.1.1, 8.8.8.8

Review the settings and click Finish
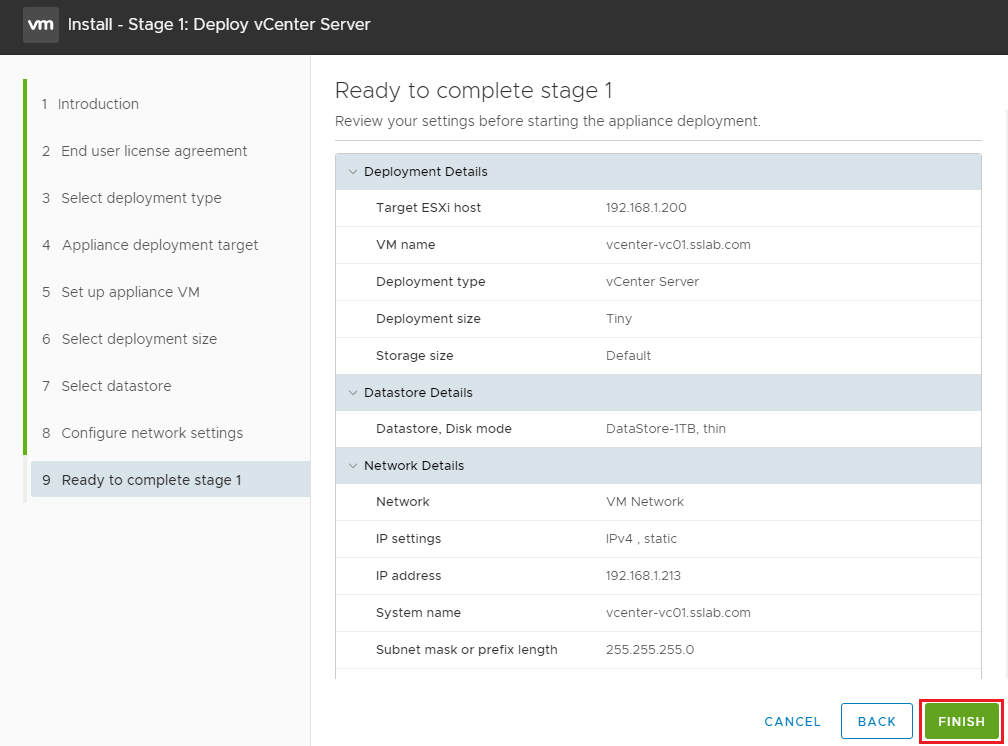
On the summary page click Finish.
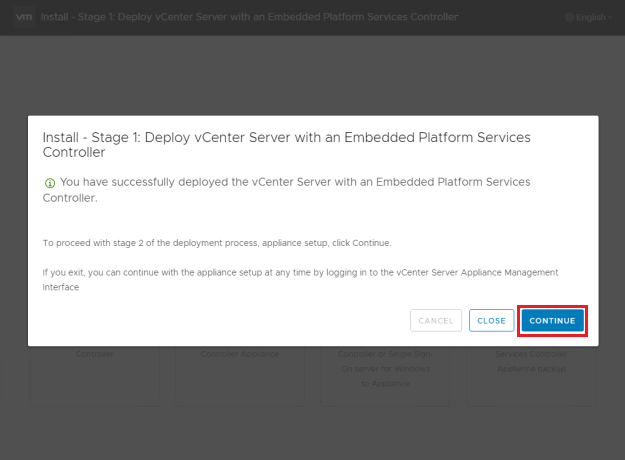
The appliance will now be deployed.

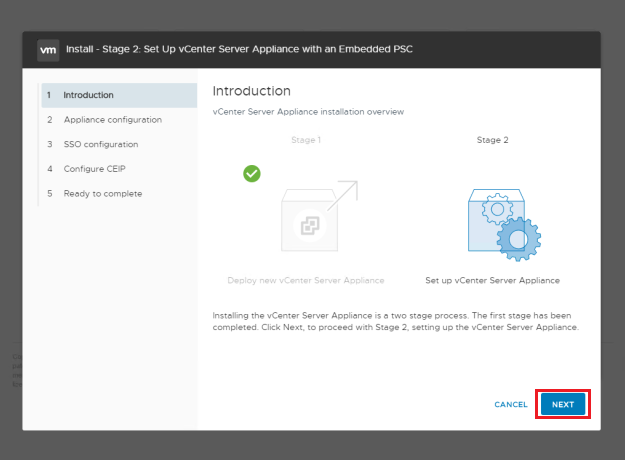
With the VCSA now deployed we can move on to stage 2, click Continue.
Click Next to being the VCSA setup.
Configure the NTP servers, enable SSH access if required, and click Next.

Enter a unique SSO domain name, the default is Vsphere local. The SSO domain name should not be the same as your Active Directory Domain. Configure a password for the SSO administrator, click Next.

Single Sign-On domain name = vsphere.zippyops.com
Single Sign-On user name = administrator
Single Sign-On password = 2!******S
Confirm password = 2!*****S
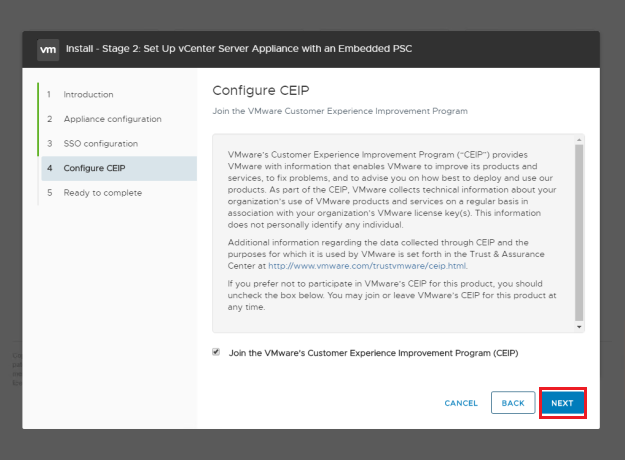
Select or deselect the customer experience improvement program box and click Next.
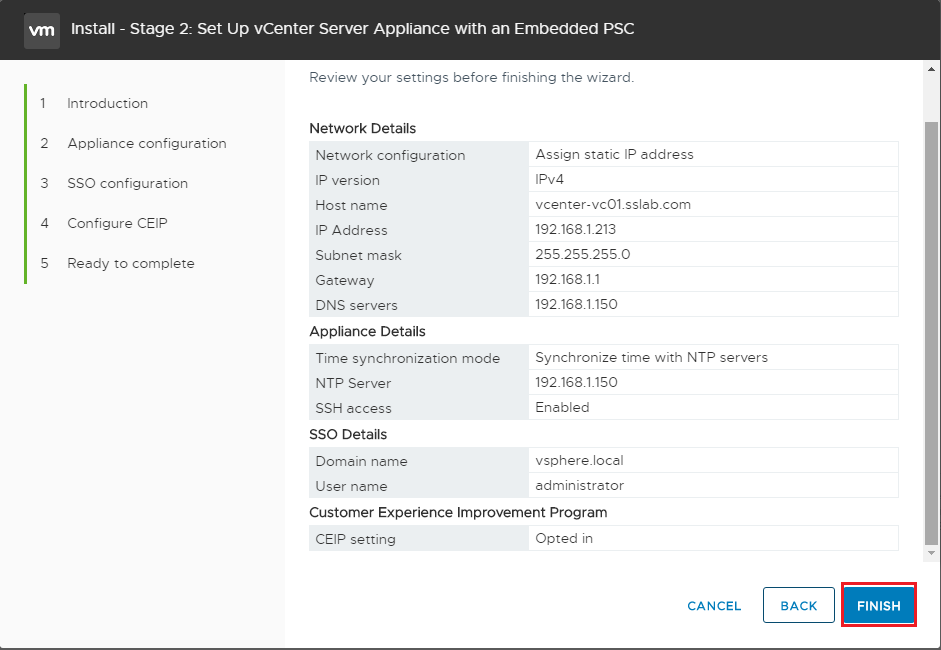
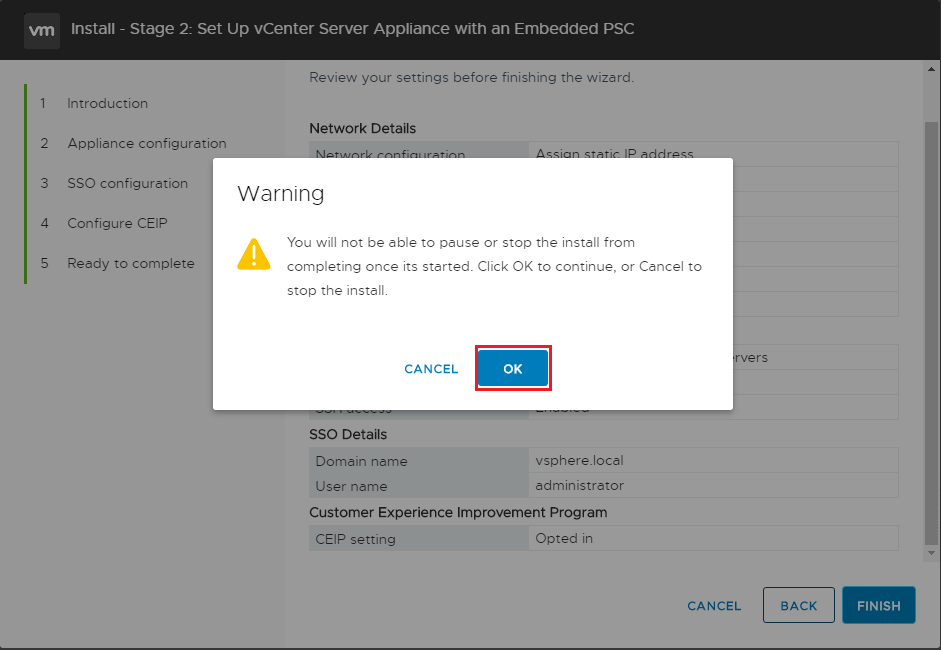
Review the details on the summary page and click Finish to Start the configurations
Click Ok to start configuration, this step cannot be interrupted.
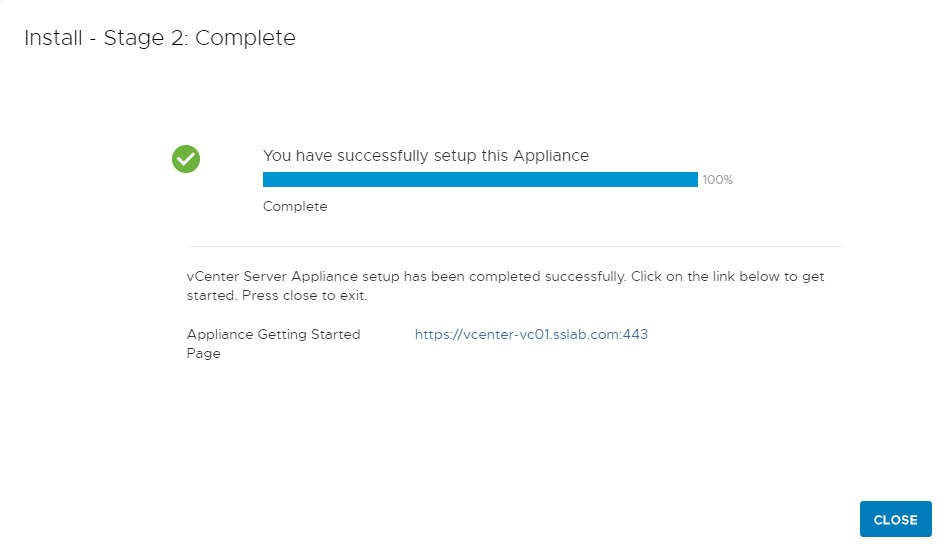
Once the installation is finished, log in to the console using fqdn as shown below.
Post-Installation
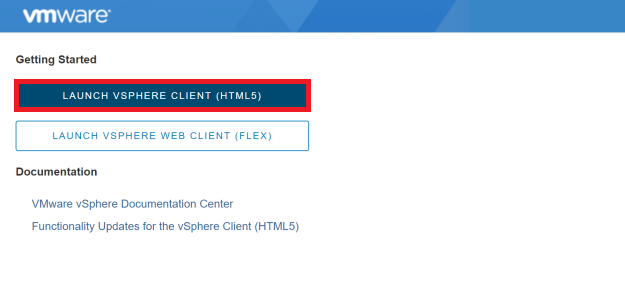
Connect to the vCenter post install using the IP(192.168.1.212) or FQDN(vphere.zippyops.com) of the vCenter. Access vSphere by clicking either Launch vSphere Client (HTML5) or Launch vSphere Web Client (FLEX). As the web client will be depreciated in future versions, and the HTML5 client is now nearly at full feature parity, we will use the HTML5 vSphere client.
You must apply for a new vCenter license key within 60 days. If you have purchased vCenter Server then log into your licensing portal here. If the license key does not appear then check with your VMware account manager. Log in to the vSphere Web Client using the SSO administrator login. From the Menu drop-down click Administration.
Vsphere login

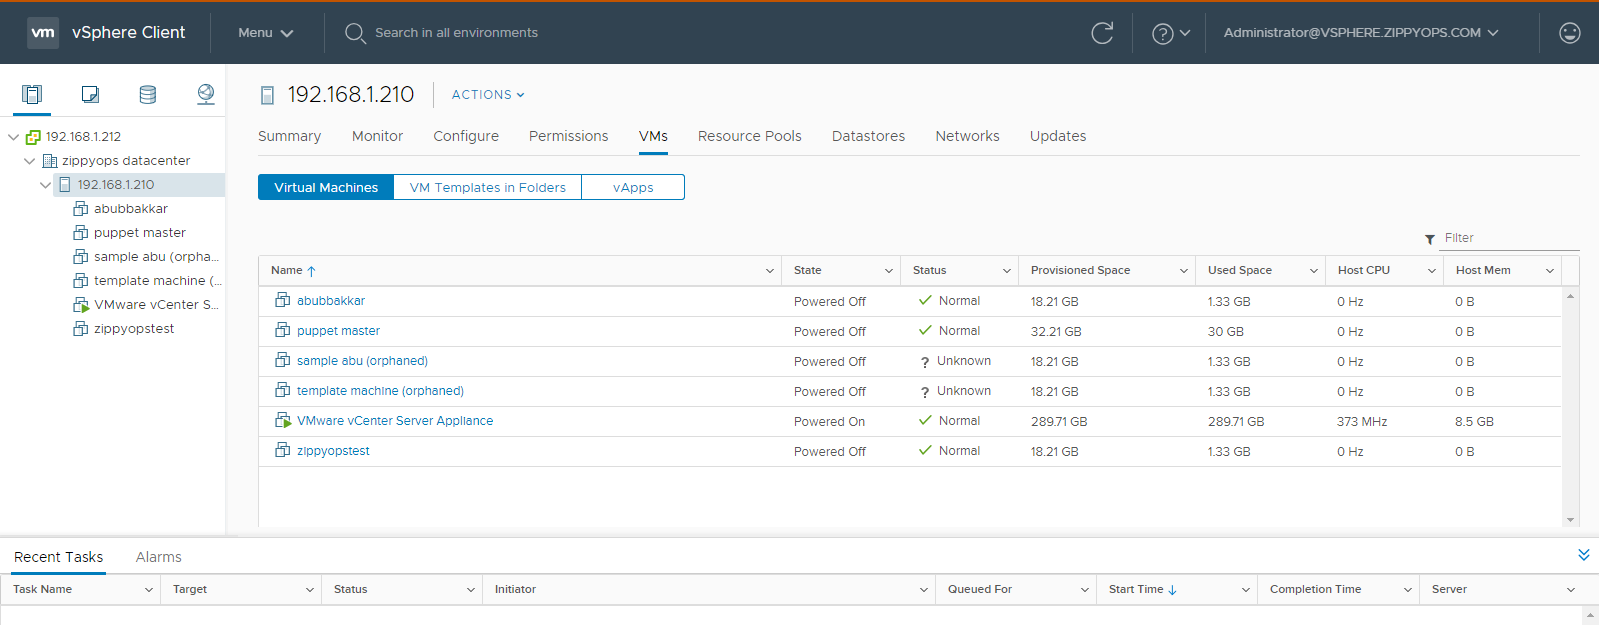
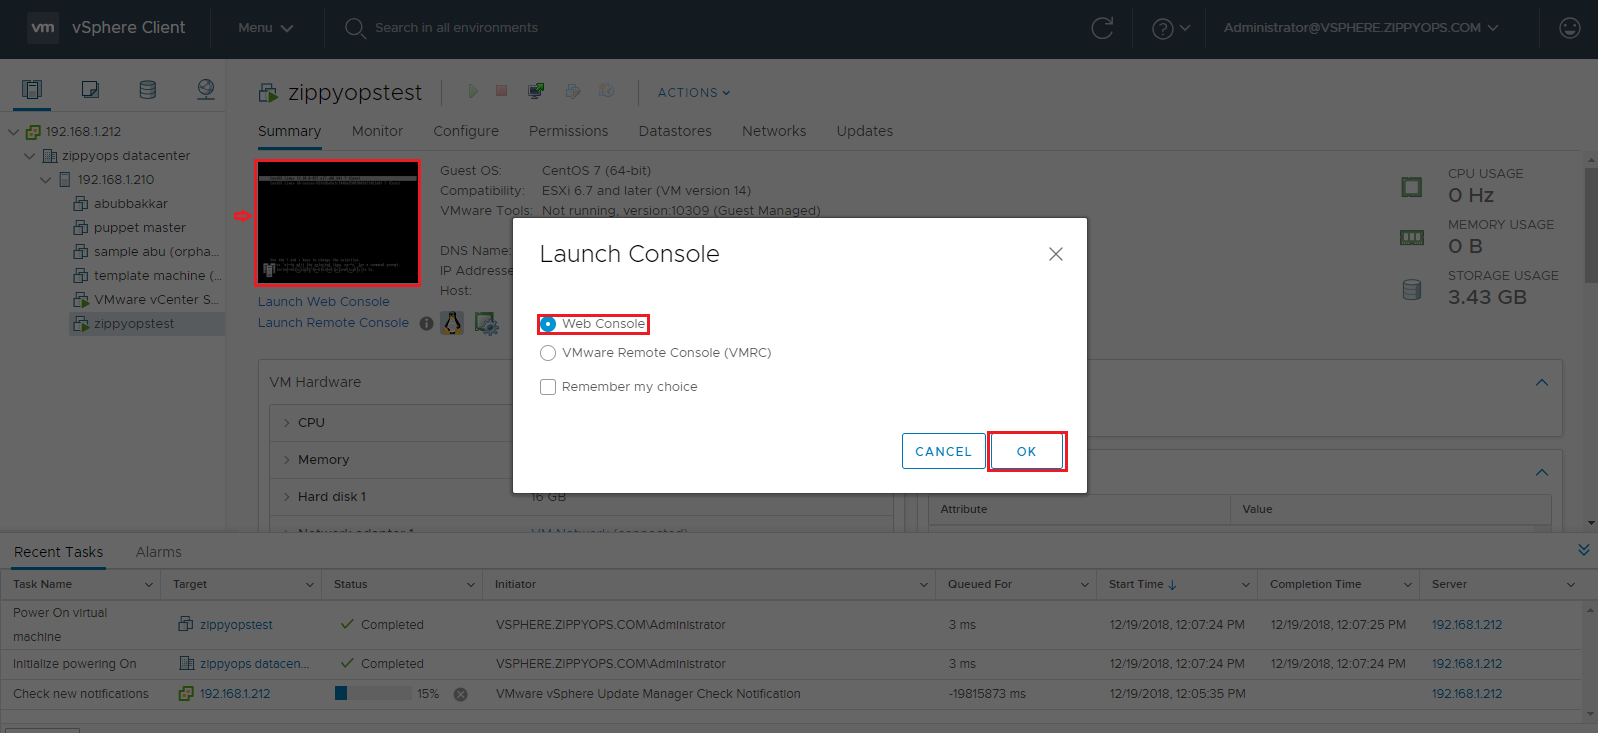
Console page of Vsphere client
Creating a New Virtual Machine
Right Click the Host Data Center 192.168.1.210->Select New Virtual Machine
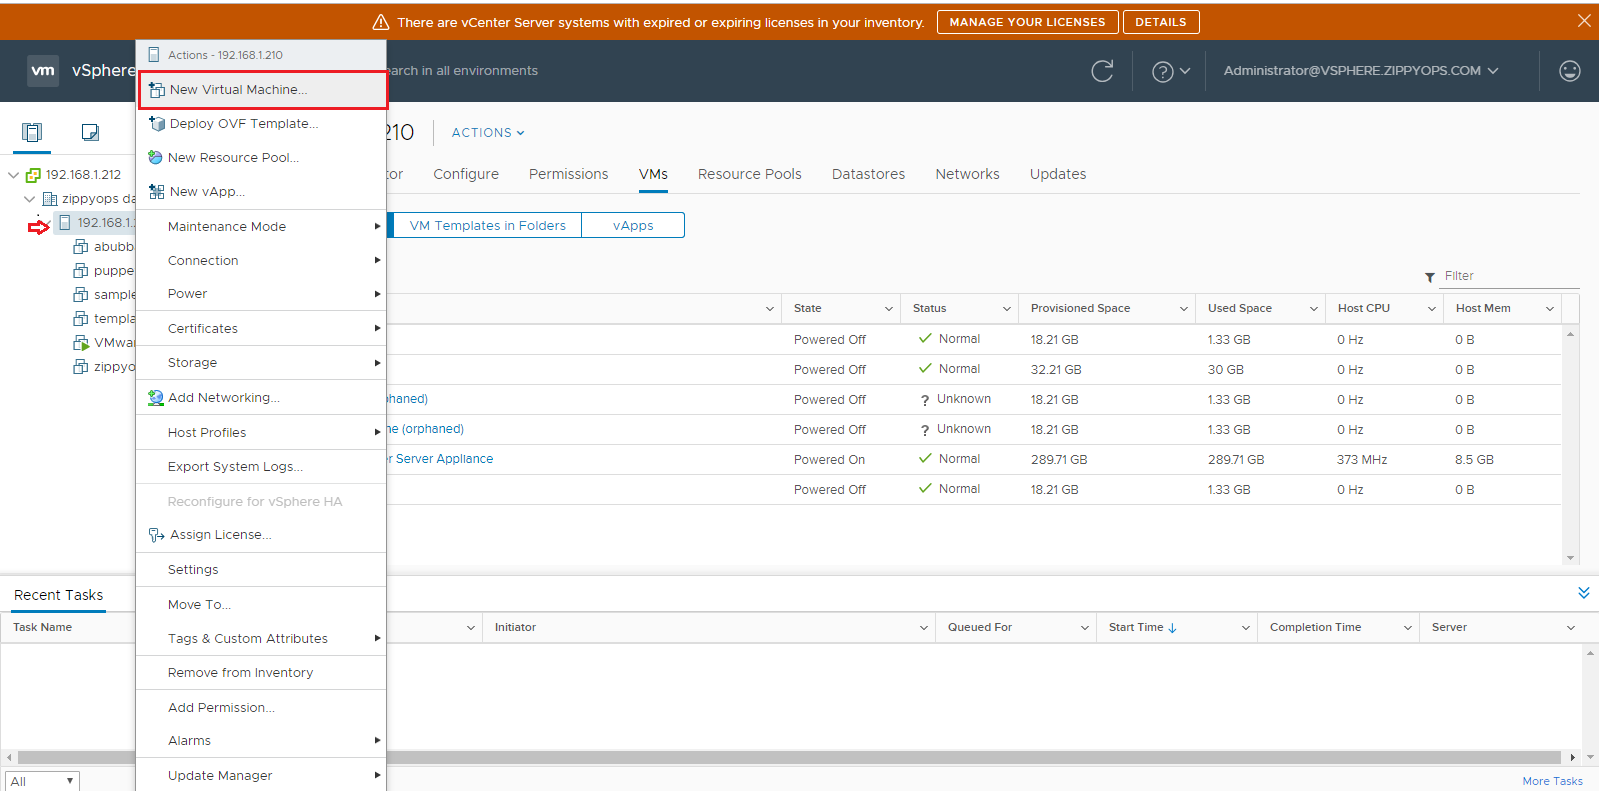
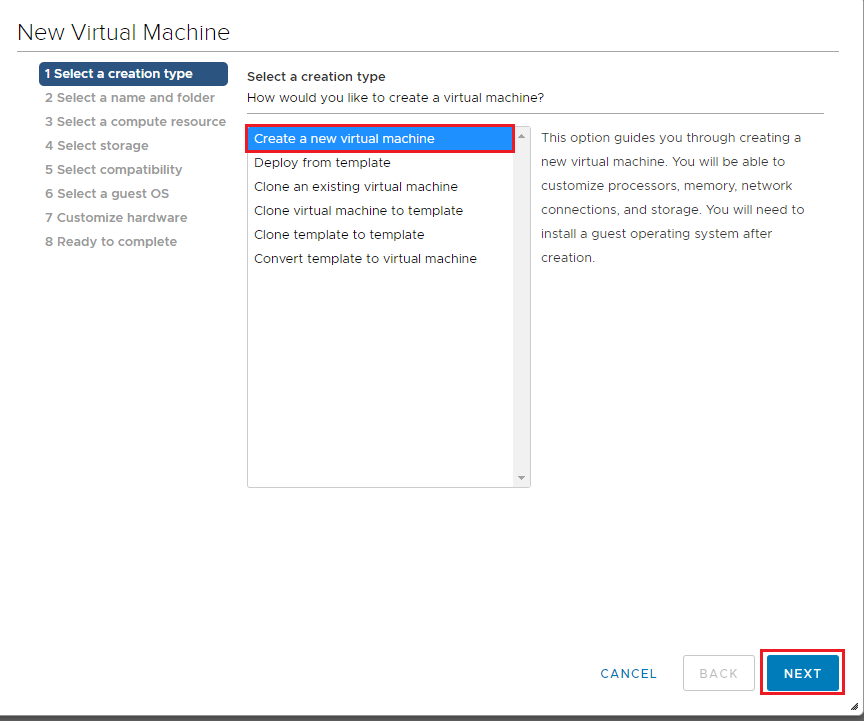
Step 1: Select a Creation Type
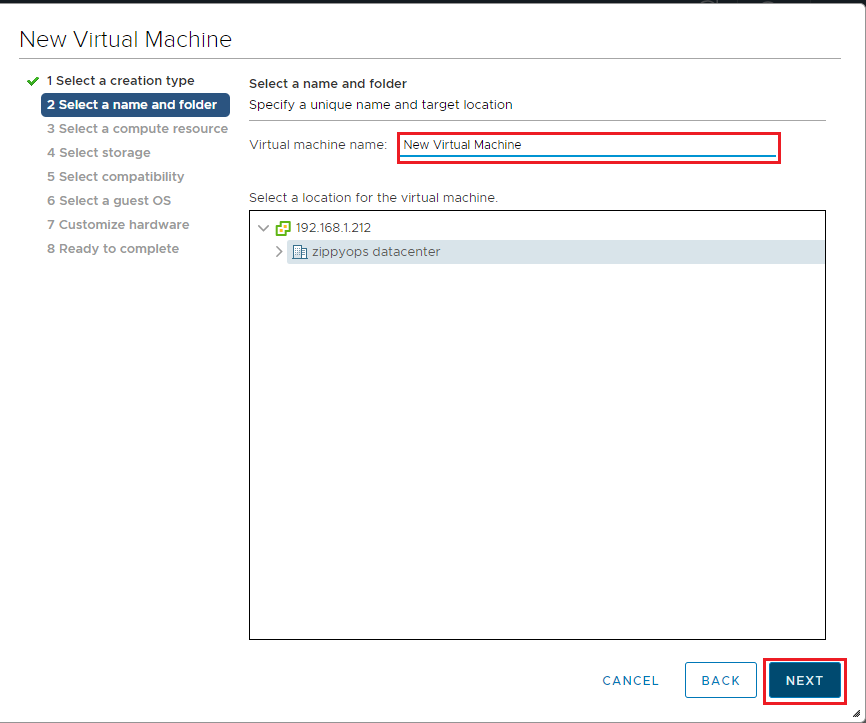
Step 2: Select a name and folder
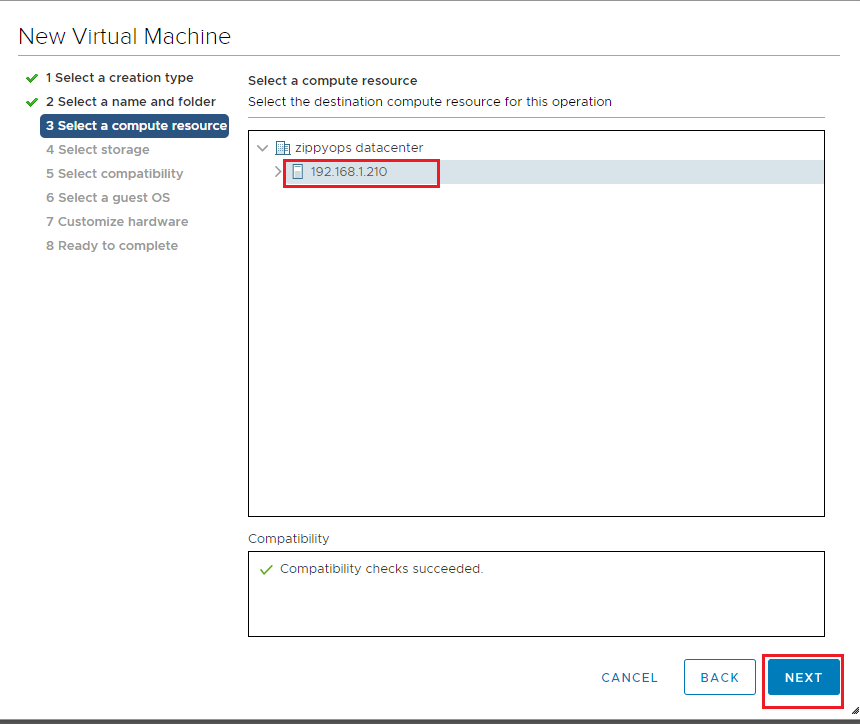
Step 3: Select a computer Resource
Step 4: Select a Storage

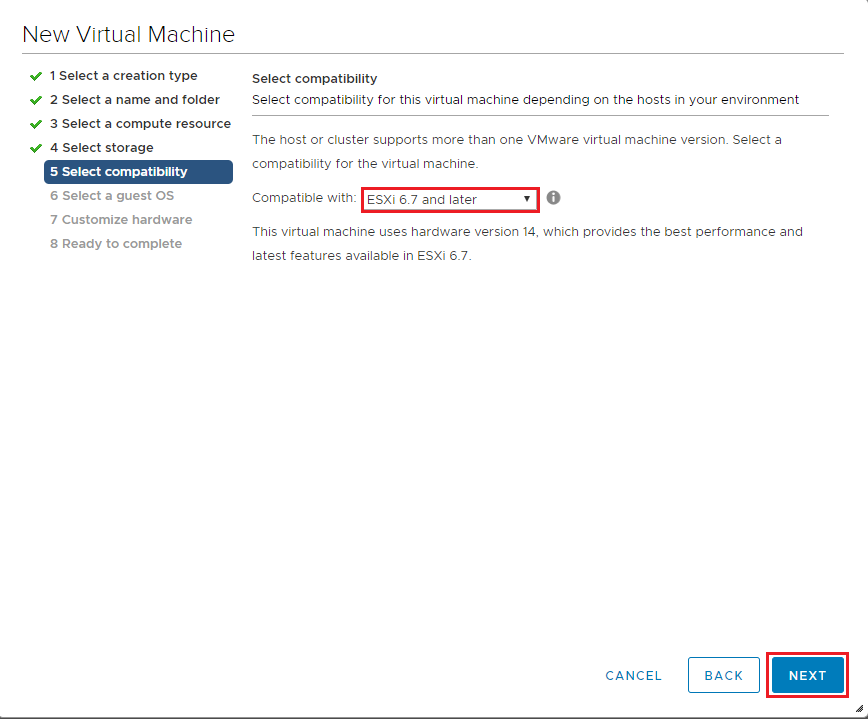
Step 5: Select Compatability
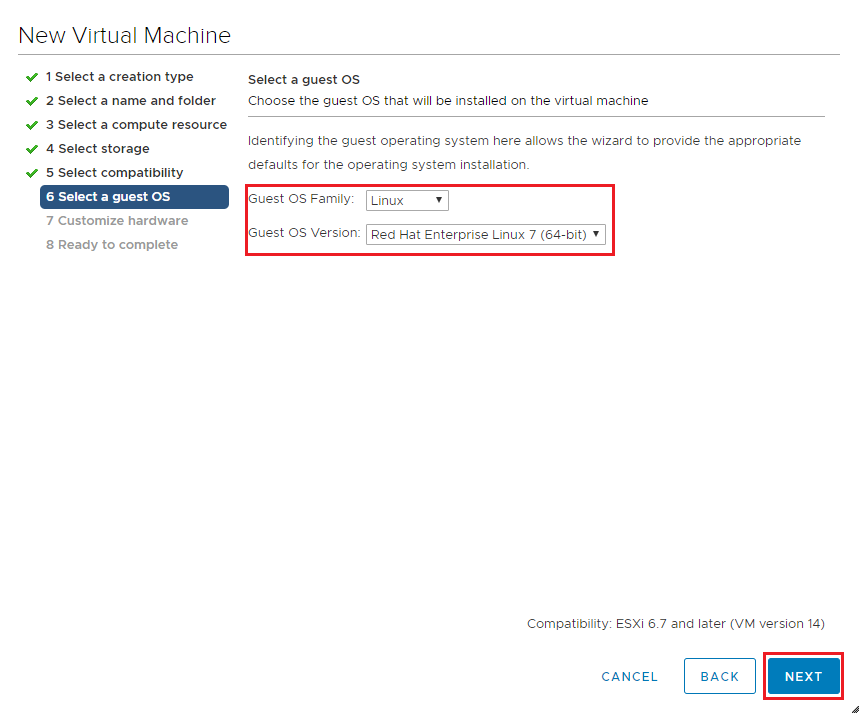
Step 6: Select a guest OS
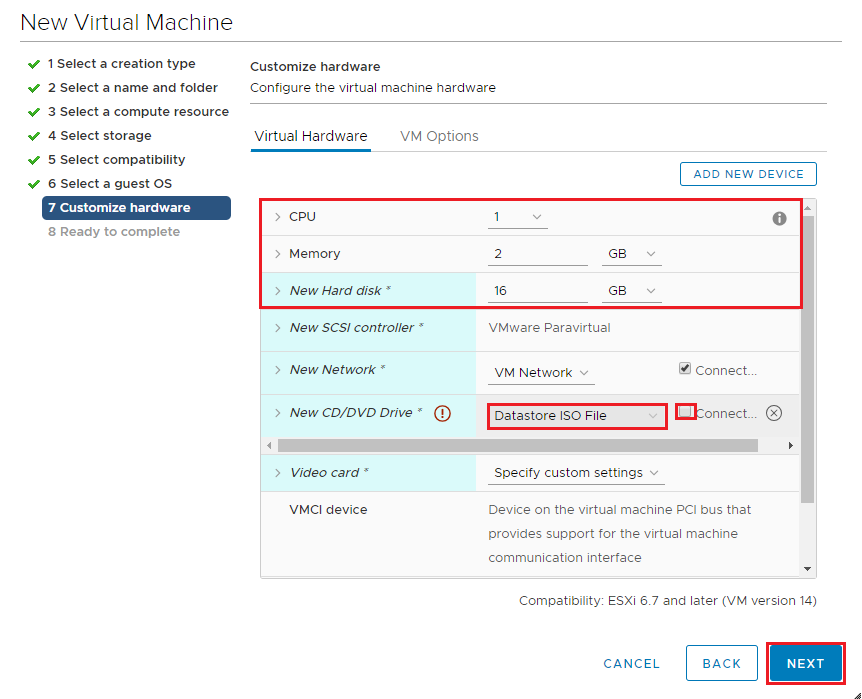
Step 7: Customize Hardware

After Selecting a Datastore ISO file in New CD/DVD Drive: Select ISO file from datastore1 to enter ok
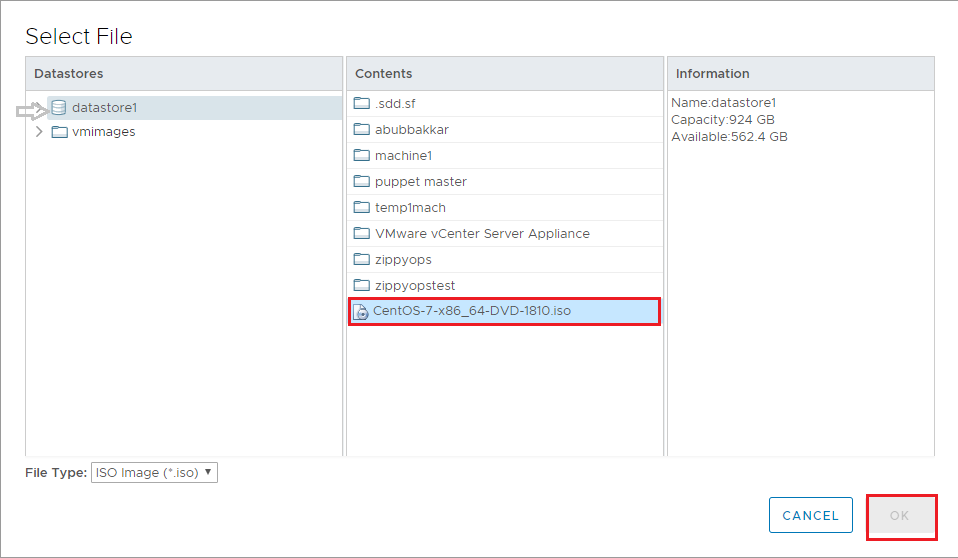
And Now Click Next
Step 8: Ready to Complete: Check Details Before Finish
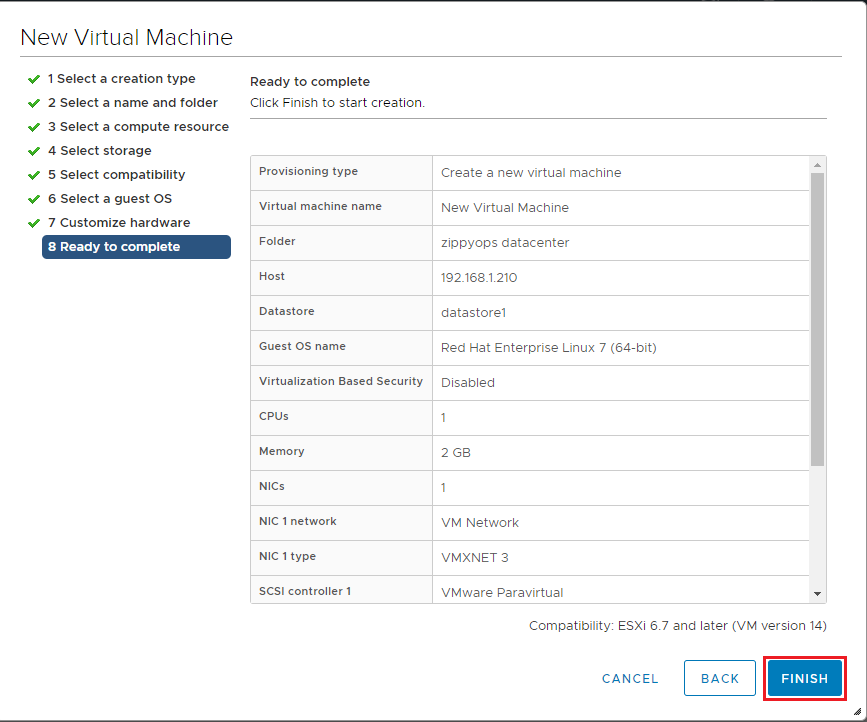
After Installation of Centos Normally. The Virtual Machine would be created.
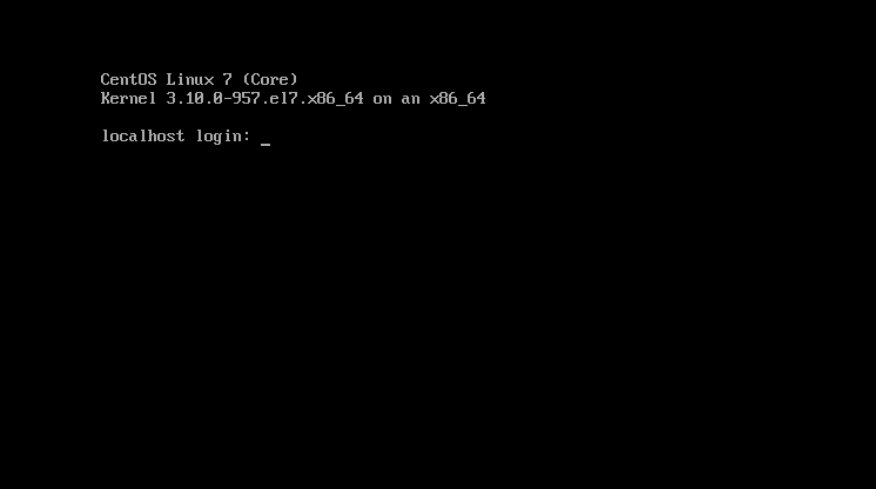
Now login with User name and password
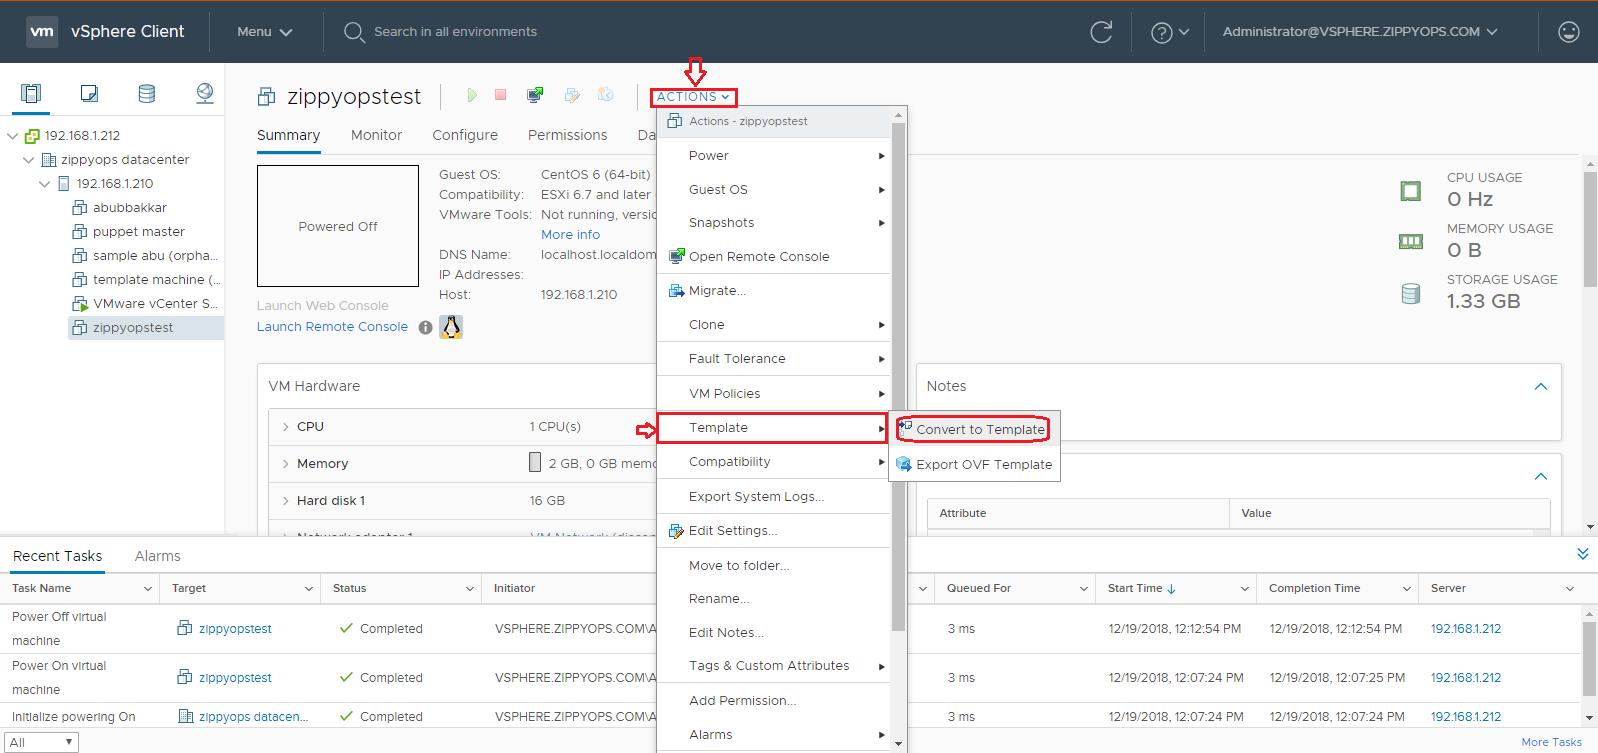
Creating a Template Using Virtual Machine
Before Creating a Template Power off the Virtual Machine and Goto Actions->Template->Convert to Template. Select it.
Confirm it To Convert. Give Yes
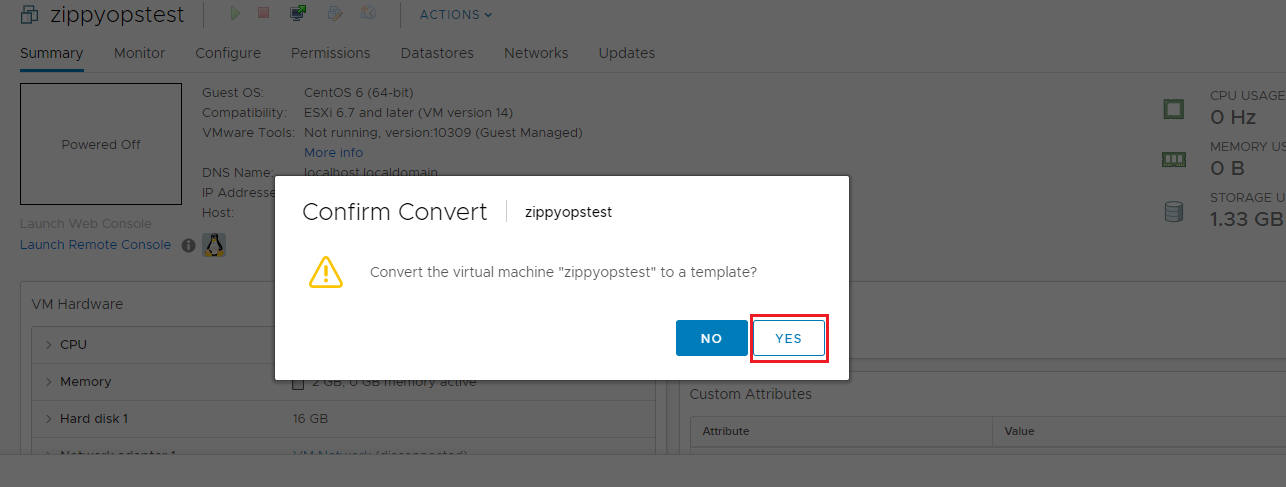
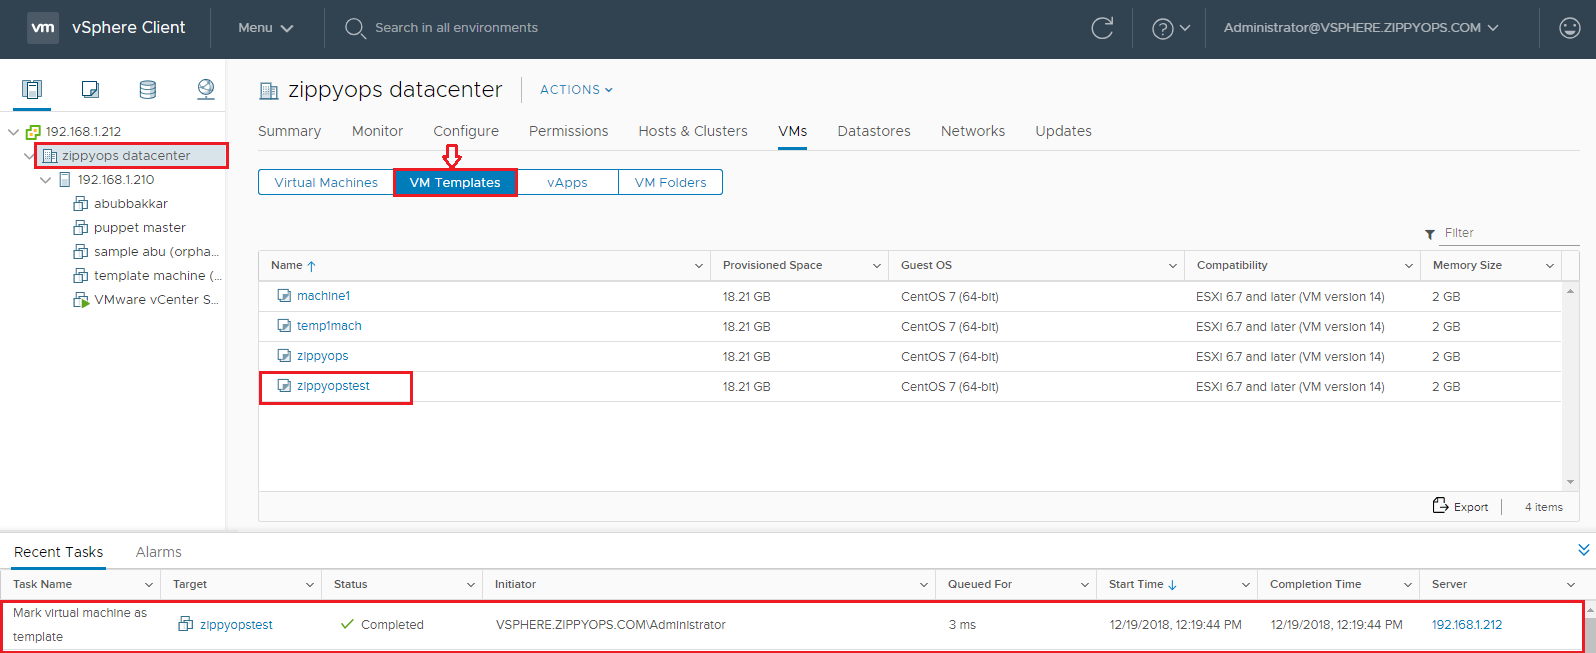
Template Created.
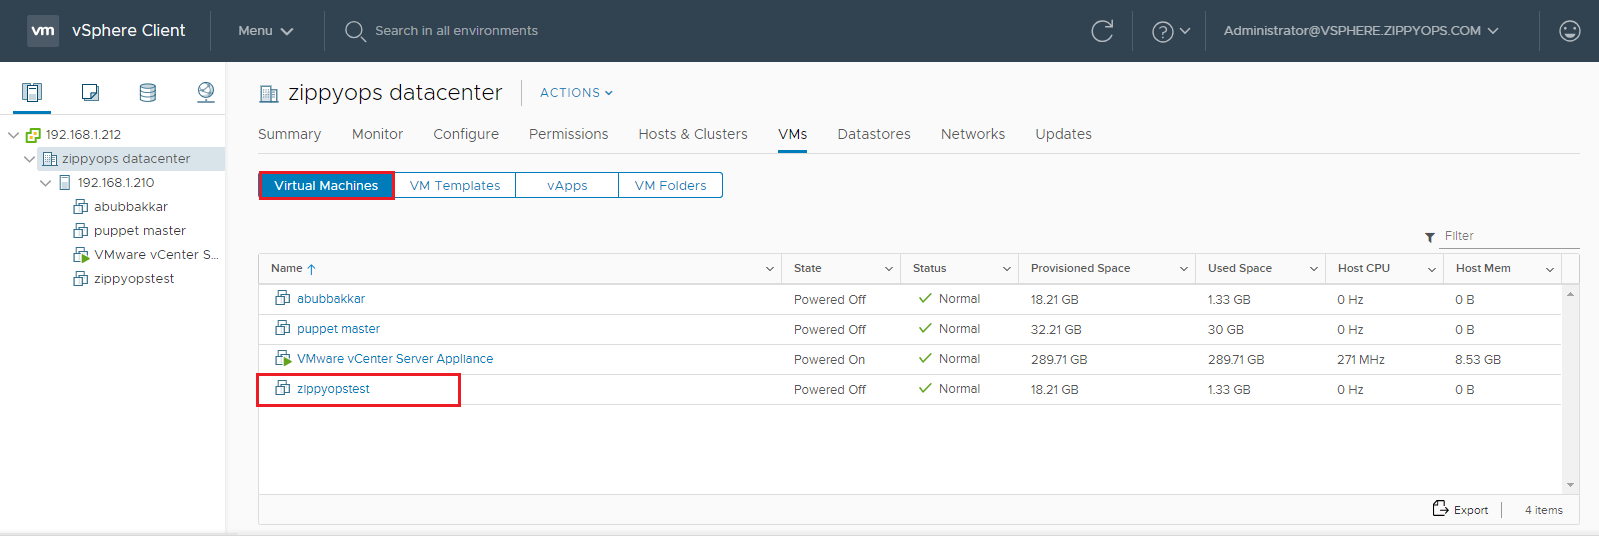
To View the Templates Goto Zippyops Datacenter->Host ESXI IP( 192.168.1.210) select it.
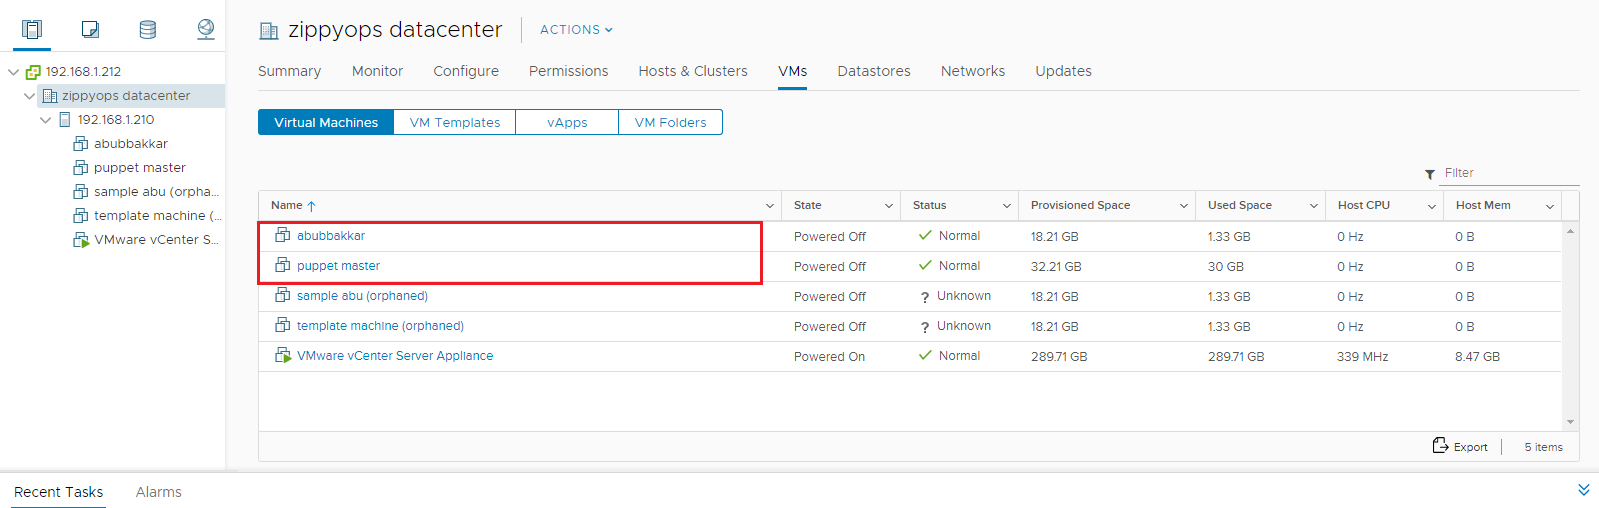
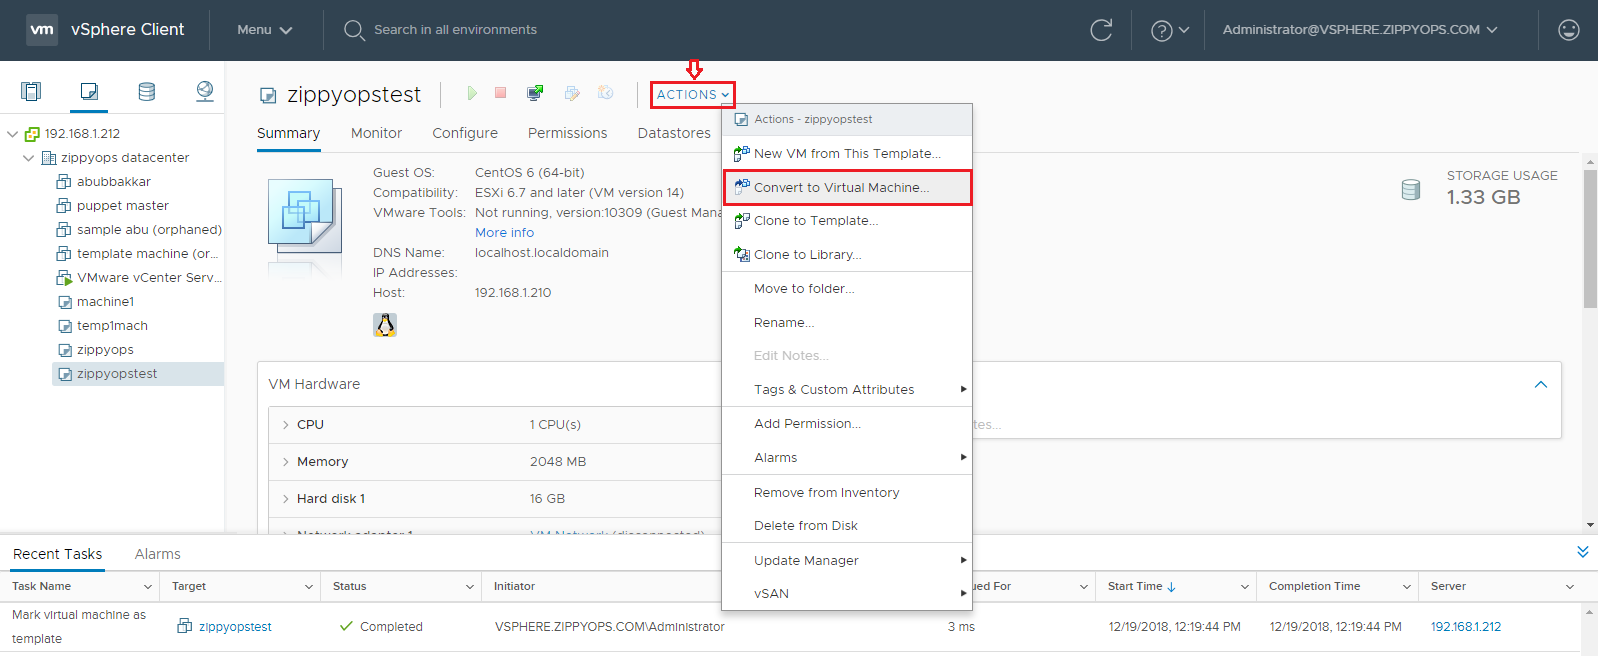
Converting a Template into Virtual Machine
Available Virtual Machines in our Datacenter
Select a Template To Convert to a Virtual Machine
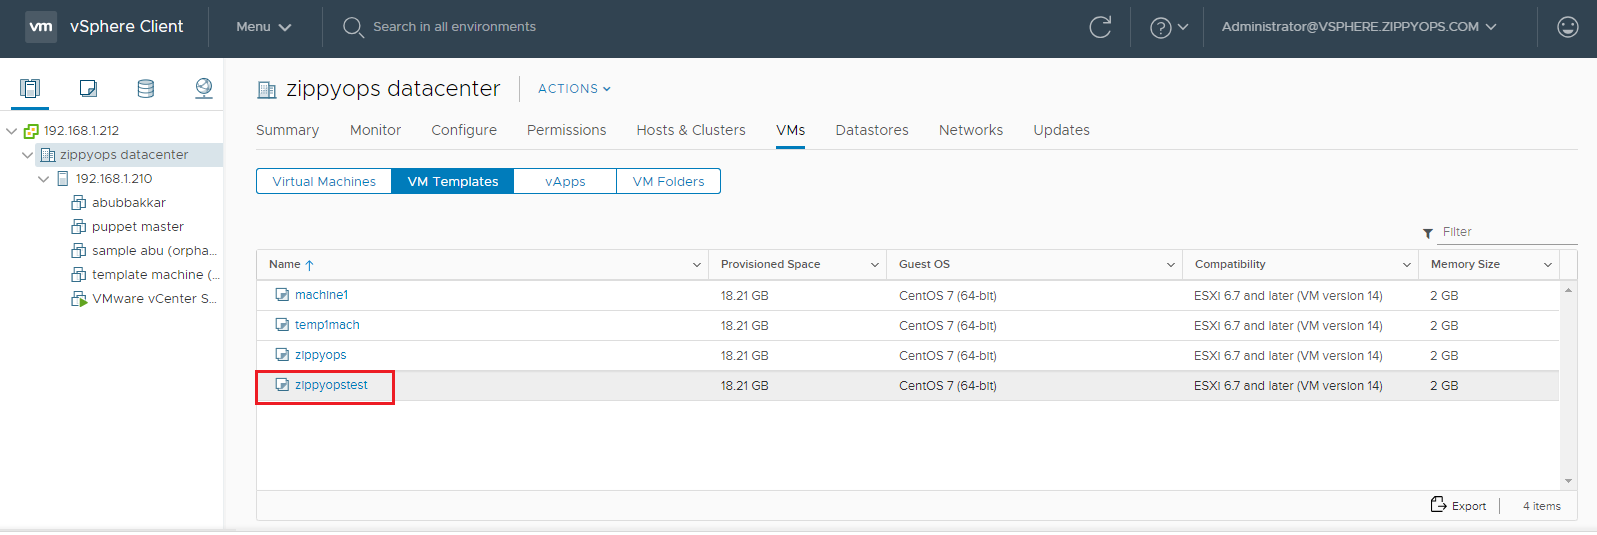
Select Actions->Convert To Virtual Machine
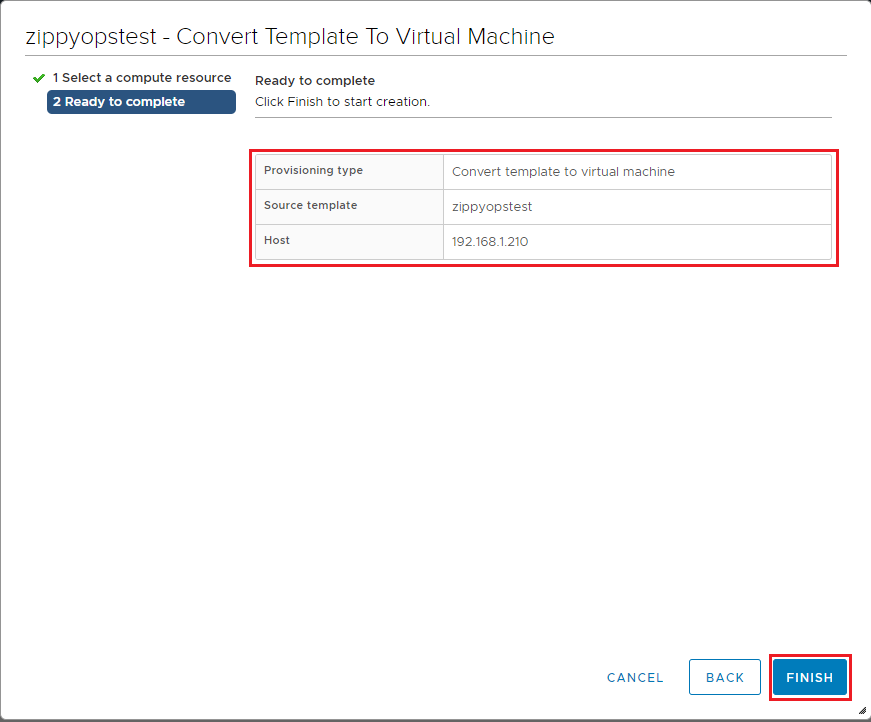
Step 1: Select a Compute Resource

Step 2: Ready to Complete: Click Finish to Convert into a Template
Recent Comments
No comments
Leave a Comment
We will be happy to hear what you think about this post