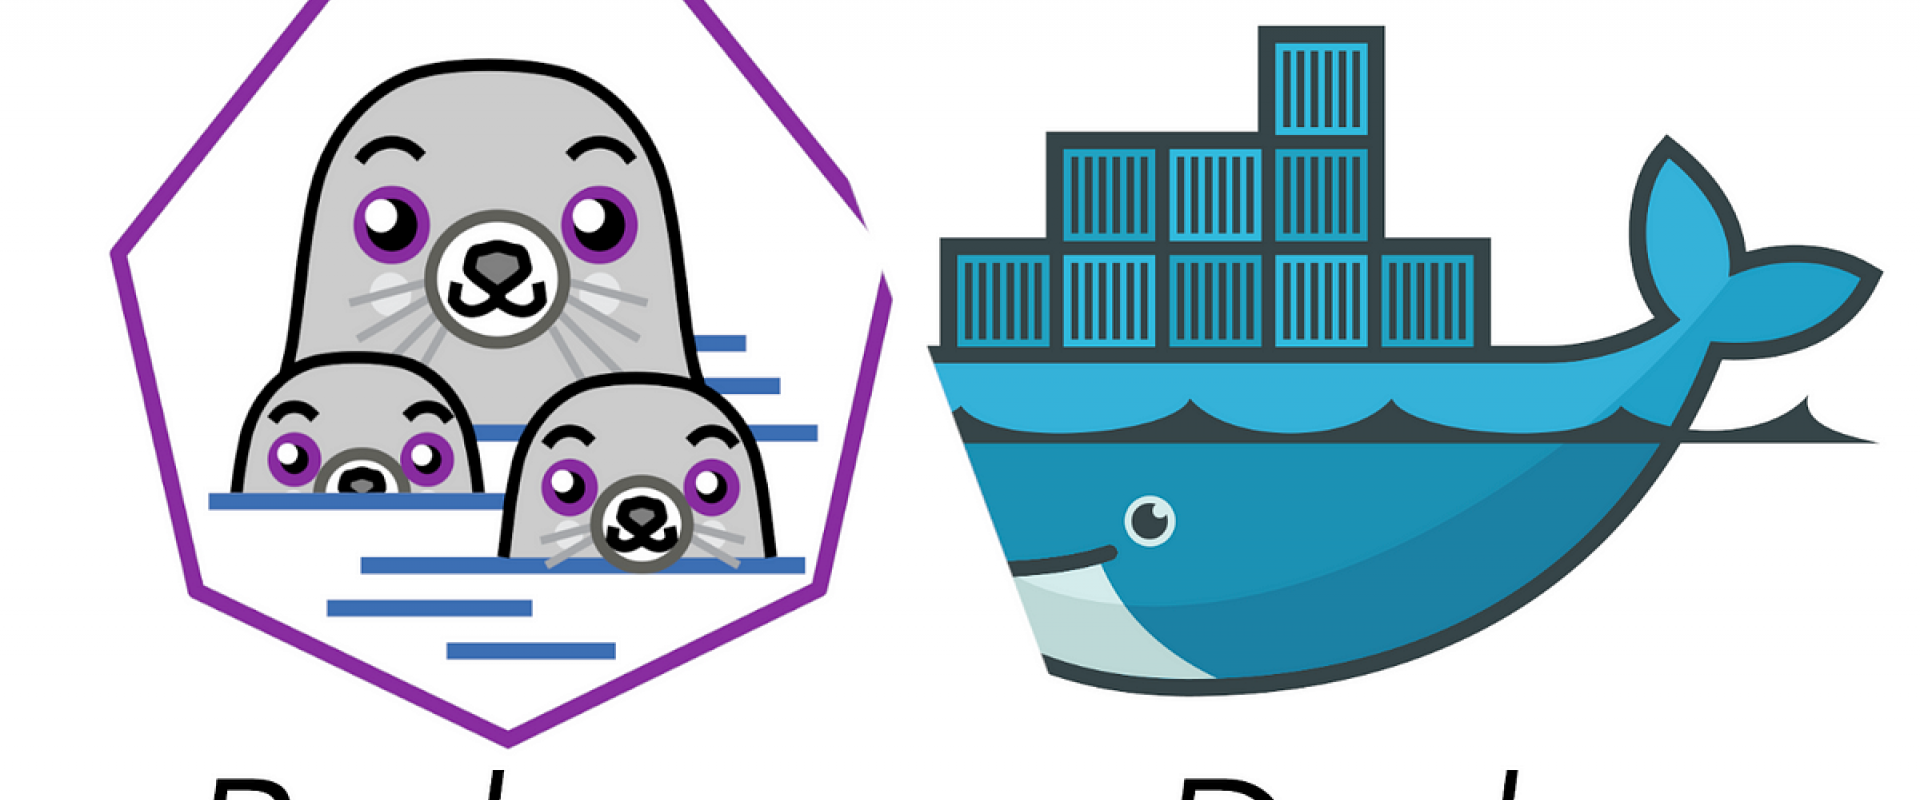
In this blog,
you'll dive into a production-ready Dockerfile, executing Podman commands with
the same finesse as you would with Docker.
You may have heard that Podman is a drop-in replacement for
Docker, but is it truly that simple? Join us in this blog as we explore the
practicality of using Podman. We'll start by working with a ready-to-go
Dockerfile and run Podman commands just like you would with Docker. Let's
investigate whether this transition is hassle-free!
Introducing Podman
Podman is a container engine, much like Docker. However, it
operates without a daemon and runs containers as non-root by default, which is
more secure. Docker has also made strides in running as a non-root user.
According to Podman's claims, all you need to do is execute the command alias
docker=podman to add the alias "docker=podman," and everything
will work seamlessly. But is it really that straightforward? In the rest of
this blog, we'll put it to the test. We'll attempt to build a Dockerfile for
a sample
node application.
Installation
Installing Podman is quite easy. Just run the following command.
$ brew install podman-desktop
Verify the correct installation.
$ podman --version
podman version 4.3.1
Build Dockerfile
The first thing to do is to build the container image.
$ podman build -t us.icr.io/appiddemo/appid-sample:1 .
STEP 1/8: FROM node:16-alpine3.14
STEP 2/8: WORKDIR /usr/src/app
--> Using cache 25d151d2e4832bef6acac7da35dc3c3a964a9d9c51d0d81a63b7baadc3aaa1c1
--> 25d151d2e483
STEP 3/8: COPY package.json /usr/src/app
--> Using cache a4d062e20567e56de994bff1b5b03d1b6ad1cf82bd6699a8dc7a3c0abf74ec9b
--> a4d062e20567
STEP 4/8: RUN npm install --production
--> Using cache 005898b305a08421407a491e75525631b38062b18f78f9138605fe2fba81441b
--> 005898b305a0
STEP 5/8: COPY . /usr/src/app
--> Using cache 44321d8390d4987601d5a052df8ac46a97d2dc59fc4854d340065b01b791ebaf
--> 44321d8390d4
STEP 6/8: ENV PORT 80
--> Using cache 932dbd7869c70e131b6caf907cace60aa990f57df83c64bcdf44cf4e6204625a
--> 932dbd7869c7
STEP 7/8: EXPOSE 80 80
--> Using cache 3c0315133b133cb1f13af9f7e305b0252ed586dae8d999de8970a8448f71f492
--> 3c0315133b13
STEP 8/8: CMD ["npm", "start"]
--> Using cache 5c125d5b43c32d8d1bda2f0492b88dea3ef3711cdac0a7b78f9a51fd1ec2b66f
COMMIT appid-sample:1
--> 5c125d5b43c3
Successfully tagged us.icr.io/appiddemo/appid-sample:1
Let's add the alias:
$ alias docker=podman
Now replace podman with docker to execute the build command:
docker build -t us.icr.io/appiddemo/appid-sample:1 .
STEP 1/8: FROM node:16-alpine3.14
STEP 2/8: WORKDIR /usr/src/app
--> Using cache 25d151d2e4832bef6acac7da35dc3c3a964a9d9c51d0d81a63b7baadc3aaa1c1
--> 25d151d2e483
STEP 3/8: COPY package.json /usr/src/app
--> Using cache a4d062e20567e56de994bff1b5b03d1b6ad1cf82bd6699a8dc7a3c0abf74ec9b
--> a4d062e20567
STEP 4/8: RUN npm install --production
--> Using cache 005898b305a08421407a491e75525631b38062b18f78f9138605fe2fba81441b
--> 005898b305a0
STEP 5/8: COPY . /usr/src/app
--> Using cache 44321d8390d4987601d5a052df8ac46a97d2dc59fc4854d340065b01b791ebaf
--> 44321d8390d4
STEP 6/8: ENV PORT 80
--> Using cache 932dbd7869c70e131b6caf907cace60aa990f57df83c64bcdf44cf4e6204625a
--> 932dbd7869c7
STEP 7/8: EXPOSE 80 80
--> Using cache 3c0315133b133cb1f13af9f7e305b0252ed586dae8d999de8970a8448f71f492
--> 3c0315133b13
STEP 8/8: CMD ["npm", "start"]
--> Using cache 5c125d5b43c32d8d1bda2f0492b88dea3ef3711cdac0a7b78f9a51fd1ec2b66f
COMMIT appid-sample:1
--> 5c125d5b43c3
Successfully tagged us.icr.io/appiddemo/appid-sample:1
Verify the list of images with podman and docker:
$ podman images
REPOSITORY TAG IMAGE ID CREATED SIZE
us.icr.io/appiddemo/appid-sample 1 5c125d5b43c3 3 days ago 232 MBShell
$ docker images
REPOSITORY TAG IMAGE ID CREATED SIZE
us.icr.io/appiddemo/appid-sample 1 5c125d5b43c3 3 days ago 232 MB
Start Container
Now that you have built the image, it is time to start a container.
$ podman run us.icr.io/appiddemo/appid-sample:1
> node app.js
[2023-06-03T23:22:17.358] [INFO] appid-sdk - Initialized
$ docker run us.icr.io/appiddemo/appid-sample:1
> node app.js
[2023-06-03T23:22:17.358] [INFO] appid-sdk - Initialized
The main advantage of Podman over Docker is that it does not require a separate daemon process to run containers. With Podman, containers are managed using a client-serverless architecture, which means that containers run directly as child processes of the Podman command. This eliminates the need for a background daemon and simplifies the deployment and management of containers.
Can Podman Be Used as a Drop-in Replacement for Docker When Building a Dockerfile?
Yes, Podman is considered a drop-in replacement for Docker when it comes to building and running containers using a Dockerfile. Podman provides a compatible command-line interface with Docker, allowing you to use familiar commands and workflows.
To build a Dockerfile with Podman, you can use the build command, similar to Docker's docker build etc.
However, it's worth noting that while Podman aims to be compatible with Docker, there may still be some differences in certain advanced features and behavior between the two tools. Therefore, it's recommended to thoroughly test your applications when migrating from Docker to Podman to ensure compatibility and proper functioning.
We Provide consulting, implementation, and management services on DevOps, DevSecOps, DataOps, Cloud, Automated Ops, Microservices, Infrastructure, and Security
Services offered by us: https://www.zippyops.com/services
Our Products: https://www.zippyops.com/products
Our Solutions: https://www.zippyops.com/solutions
For Demo, videos check out YouTube Playlist: https://www.youtube.com/watch?v=4FYvPooN_Tg&list=PLCJ3JpanNyCfXlHahZhYgJH9-rV6ouPro
If this seems interesting, please email us at [email protected] for a call.
Relevant Blogs:

Recent Comments
No comments
Leave a Comment
We will be happy to hear what you think about this post