DNS

What is DNS?
The Domain Name System (DNS) is the phonebook of the Internet. Humans access
information online through domain names, like nytimes.com or espn.com. Web browsers interact
through Internet Protocol (IP) addresses. DNS translates domain names to IP addresses so browsers can load Internet resources.
Each device connected to the Internet has a unique IP address that other machines use to
find the device. DNS servers eliminate the need for humans to memorize IP addresses such as 192.168.1.1 (in IPv4), or more complex newer alphanumeric IP addresses such as
2400:cb00:2048:1::c629:d7a2 (in IPv6). is DNS?
How does DNS work?
The process of DNS resolution involves converting a hostname (such as www.zippyops.com) into a computer-friendly IP address (such as 192.168.1.1). An IP address is given to each device on the Internet, and that address is necessary to find the appropriate Internet
device - like a street address is used to find a particular home. When a user wants to load a
webpage, a translation must occur between what a user types into their web browser
(zippyops.com) and the machine-friendly address necessary to locate the example.com webpage.
To understand the process behind the DNS resolution, it’s important to learn about
the different hardware components a DNS query must pass between. For the web browser, the DNS lookup occurs “ behind the scenes” and requires no interaction from the user’s computer apart from the initial request.
Technitium DNS Server
Technitium DNS Server is an open-source tool that can be used for self-hosting a local DNS
server for privacy & security or, used for experimentation/testing by software developers on their computer. It works out-of-the-box with no or minimal configuration and provides a user-friendly web console accessible using any web browser.
With a fully configurable DNS server running on your local machine, you can configure not
just simple A records (for IP address) but, also configure other types of records like CNAME or
MX etc. This allows you to have more control and power when you want to do testing that simulates
the exact configuration that you have running on production.
INSTALLATION OF TECHNITIUM DNS
Setup The System.
Insert CentOS installation drive-in system and boot it, once booted, Select language for installation as English and click continue

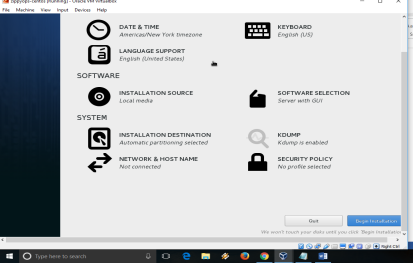
In the next screen, select software selection

Select server with GUI

Click on installation destination and click done
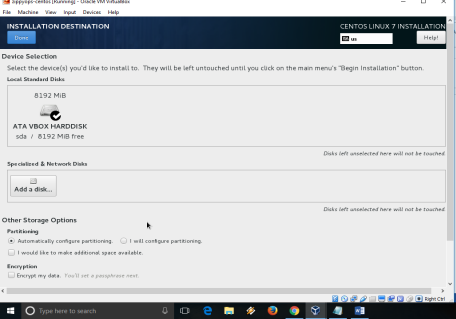
Click Begin installation
During the installation, set the root password and create a user. Click on the root password

Set a root password and write it somewhere safe.
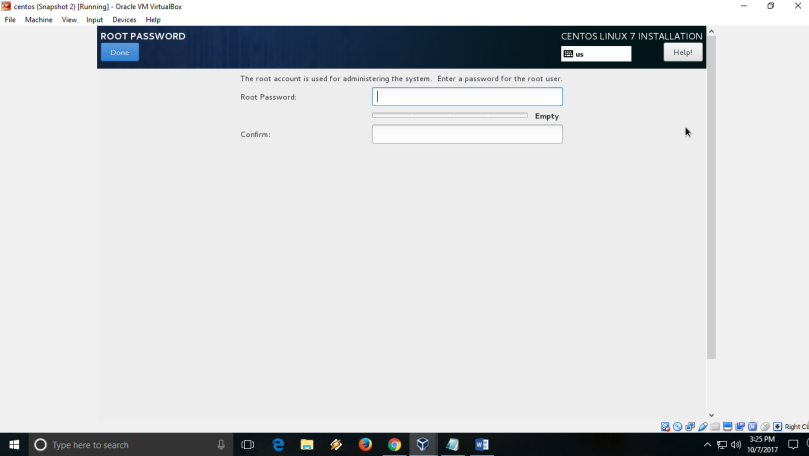
Note: If you have a simple password, you have to press done twice to use a simple password
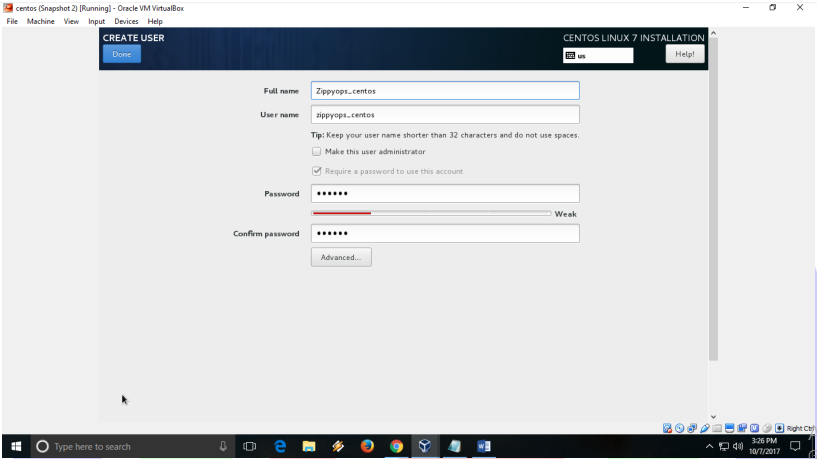
Create a user by providing a full name, password. Make sure you select the “Make this user administrator”
After installation is completed, it will ask you to restart. Click reboot to restart the server.
After reboot, you will see the below screen.
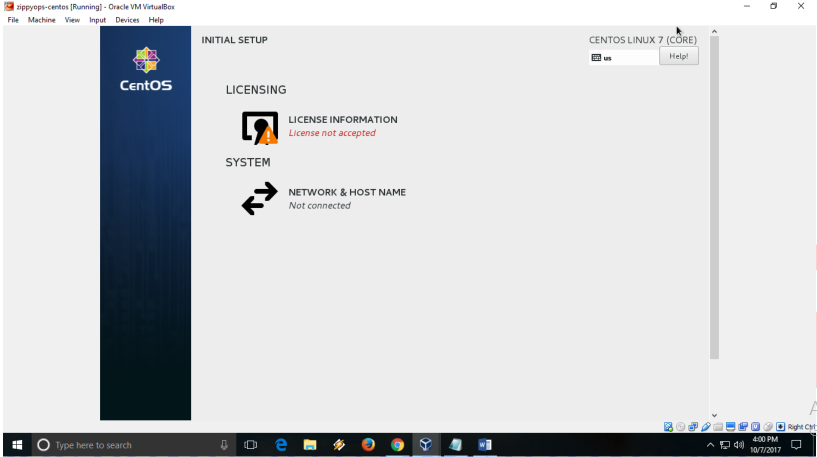
Click on License information and accept the EULA

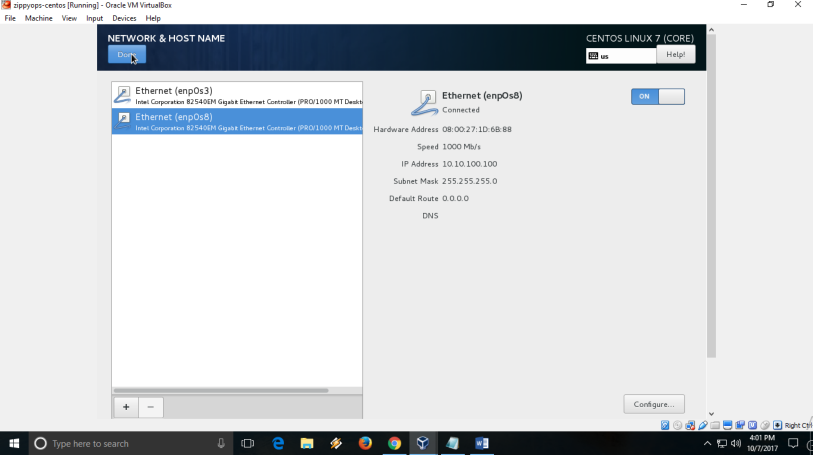
Select Network and HOST Name and enable both the network adapters

Toggle the switch to ON
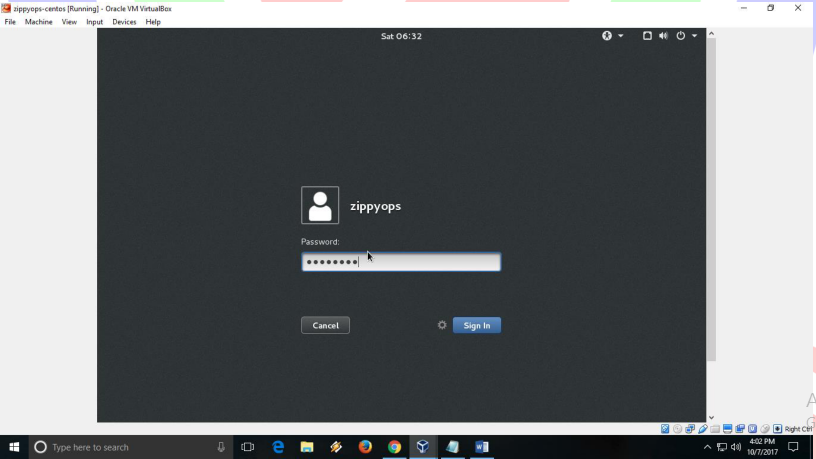
Click on the user-created during installation and enter the password to login to the
server.
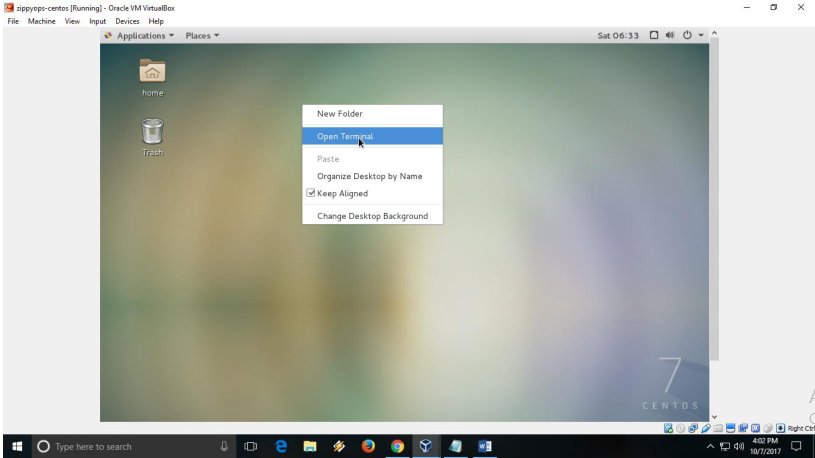
Right-click and select “Open Terminal”
In the terminal enter the below command to get the latest update
sudo yum update
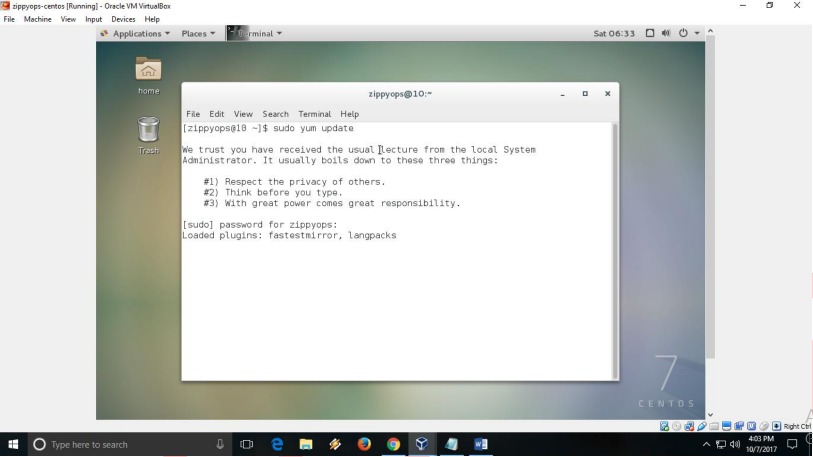
Enter the password of the user to get sudo permission
Once the update is completed, enter the below command to install developer tools and kernel packages.
[root@dns plugin conf.d]# sudo yum group install "Development Tools" -y
[root@dns plugin conf.d]# sudo yum install kernel* -y
Install Wget to download the DNS Server files
[root@dns plugin conf.d]# yum install wget -y
Disable Firefox and SELinux to access ports.
[root@dns ~]# systemctl start firewalld
[root@dns ~]# systemctl status firewalld
[root@dns ~]# sestatus
Install Microsoft Dotnet framework.
Microsoft Dotnet framework is important to access DNS server through that only we can
access the DNS Server to install it first add a repo in centos for the Microsoft Dotnet framework.
To install the Dotnet framework run the command below,
[root@dns ~]# yum install dotnet-sdk-2.2 -y
[root@dns ~]# yum install epel-release mono-devel -y
[root@dns ~]# yum install mono-devel -y
Download and start the DNS server.
Create a directory in the root directory to download and extract the Technitium DNS server.
Download the tar file of the technetium DNS server by running the command below,
$ wget https://technitium.com/download/dns/DnsServerPortable.tar.gz
[root@chefserver zippyops]# wget https://technitium.com/download/dns/DnsServerPortable.tar.gz
To extract the file run the below command and it will extract the file and save it in the DNS directory
[root@dns ~]# ls
[root@dns ~]# tar -xzvf DnsServerPortable.tar.gz
Now start the DNS server by run the start.sh shell script file,
[root@dns ~]# ./start.sh
Finally, the DNS server started successfully.
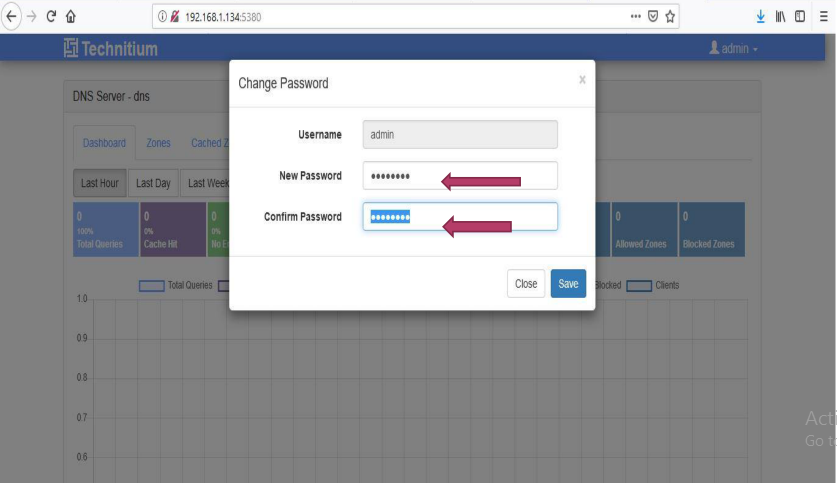
View the console by browsing http://localhost:5380/ In the browser.
Initially, it asks the password of the admin for initial setup purposes enter the password and log in as an admin.
CONFIGURING DNS SERVER
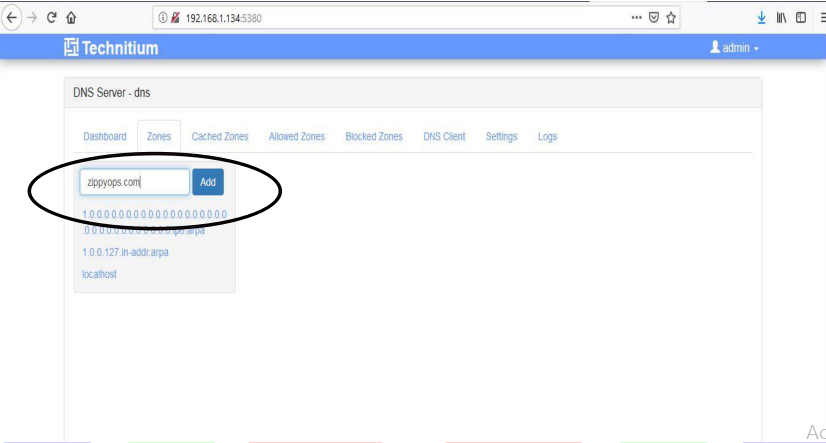
Create and edit zone in DNS server. Now we have a DNS server in our system, well the DNS server is similar to the phonebook which has the IP address of the machines which is in the local network and that machines host details so initially we need to create a new ZONE to add IP and hostname of the machines. Goto the ZONE tab in the console and create a zone called zippyops.com and it like,
Now The zone is ready. The console-like,
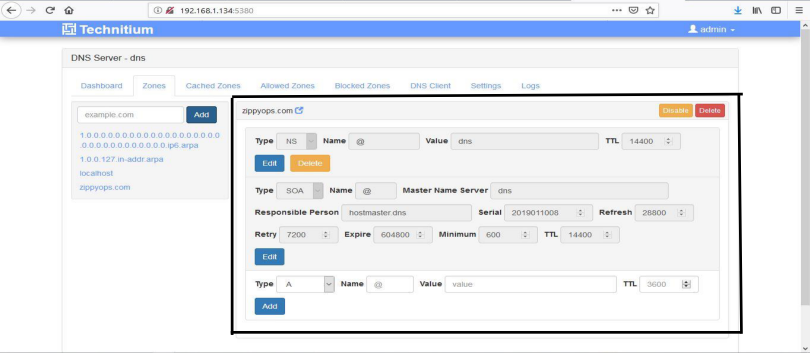
Add DNS entry in DNS server.
Consider you have a node which has IP=192.168.1.10 and hostname is web.zippyops.com then set the DNS entry like below pic,

The zone name is zippyops.com so we don’t need to put the full hostname in the name tab. We can access tools that are installed in the system in the local network and it must have DNS entry in this DNS server.
Relevant Blogs:
Jfrog integrating with jenkins
Recent Comments
No comments
Leave a Comment
We will be happy to hear what you think about this post